This method is particularly useful for building virtual tours, where capturing a 360 image may be more convenient than recording a 360 video or looping an image.
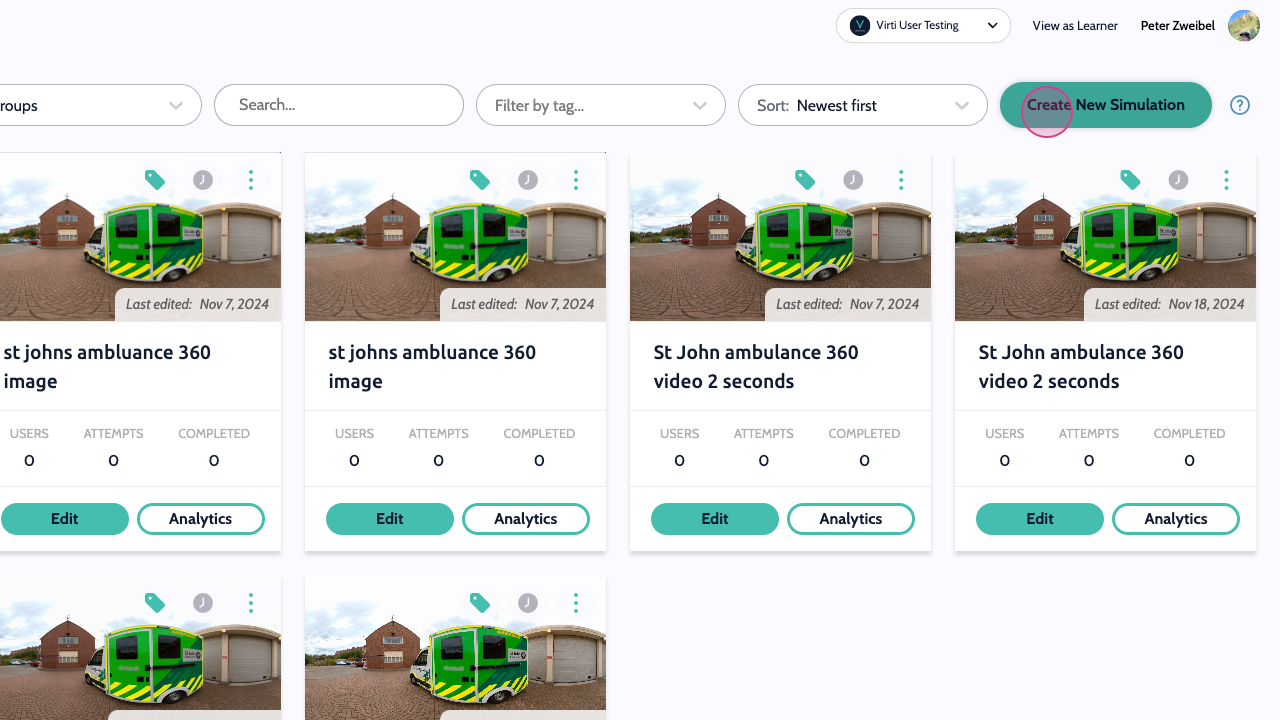
Step 1: To start click on Create New Simulation.
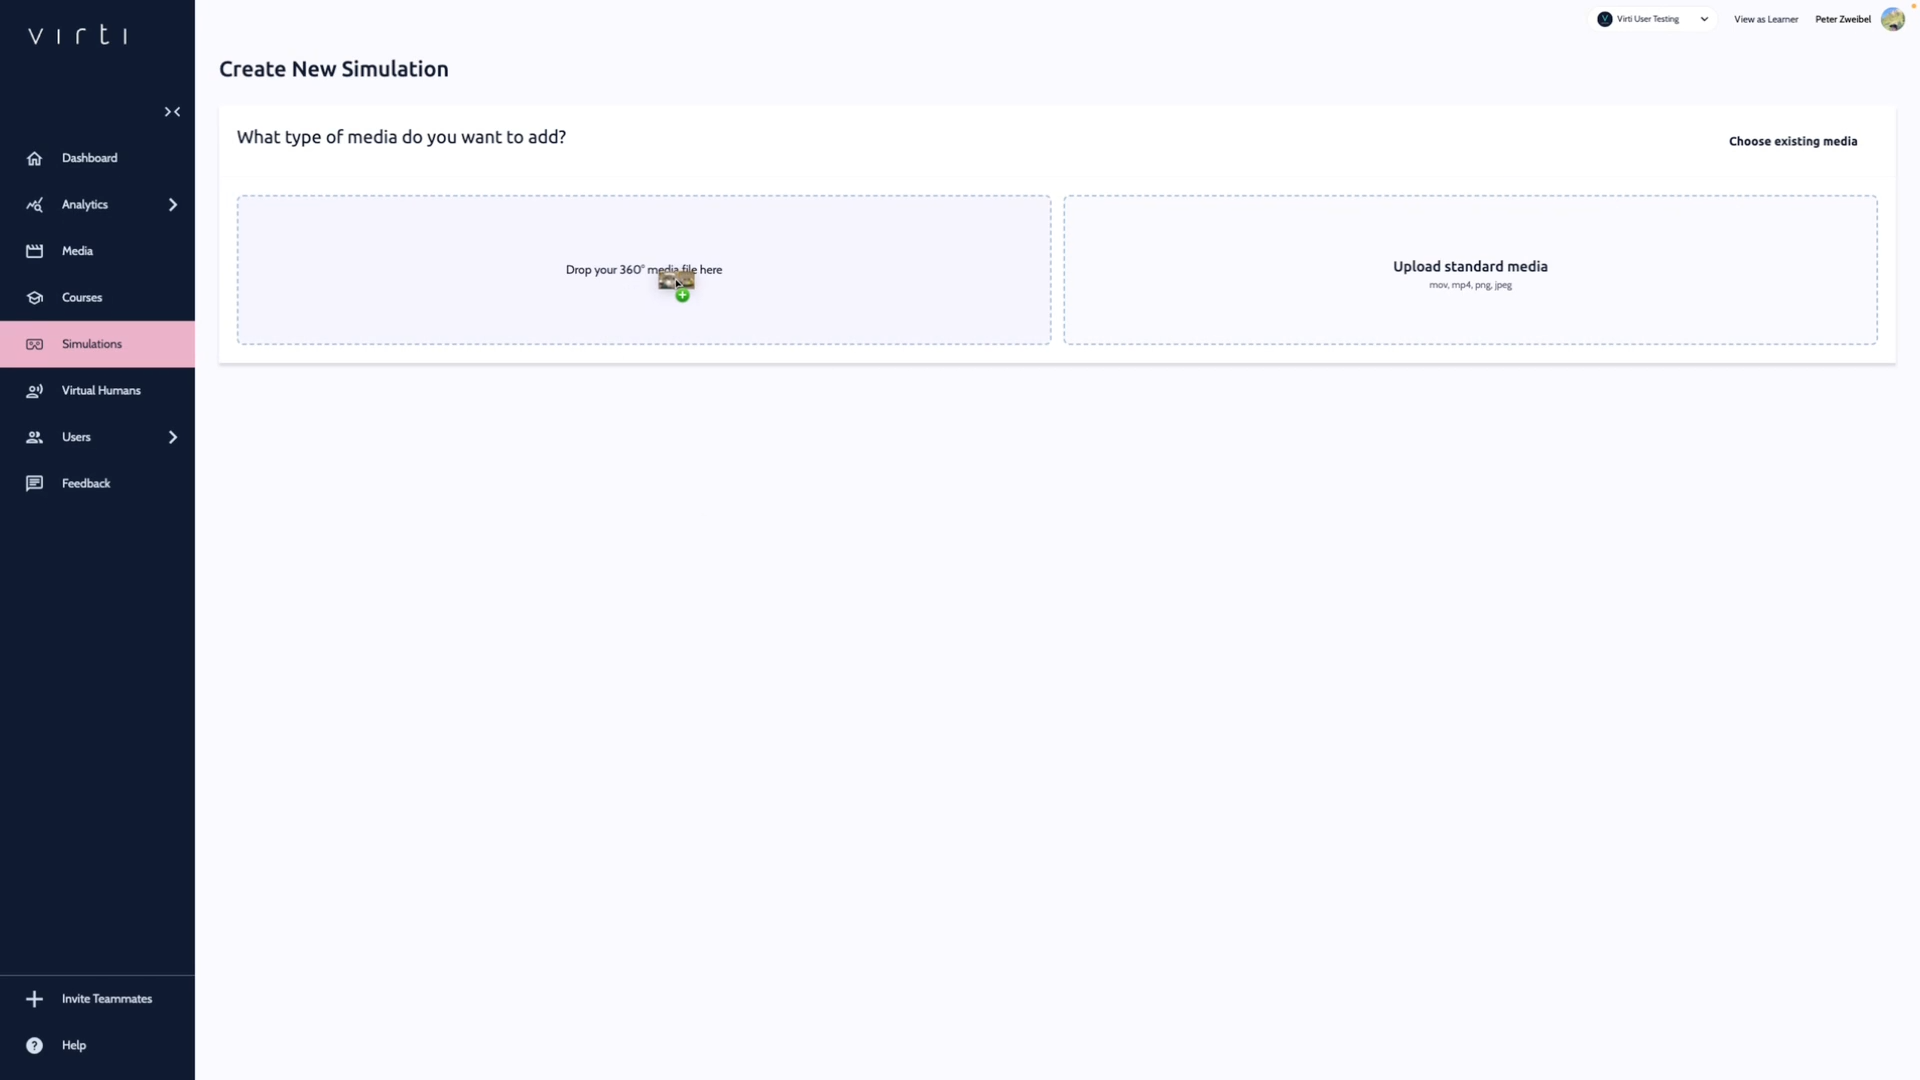
Step 2: Upload a 360-degree image. For this example, we're using an image of an ambulance's interior. Simply drag and drop the image into the designated area.
Step 3. Navigate to the editor to start adding interactivity to your simulation.

The interface of the editor is similar to the 360-degree video editor. The uploaded image will appear in 360-degree format. Click and drag around your video to look around. For more information on adding interactivity to simulations visit Creating Interactive Videos
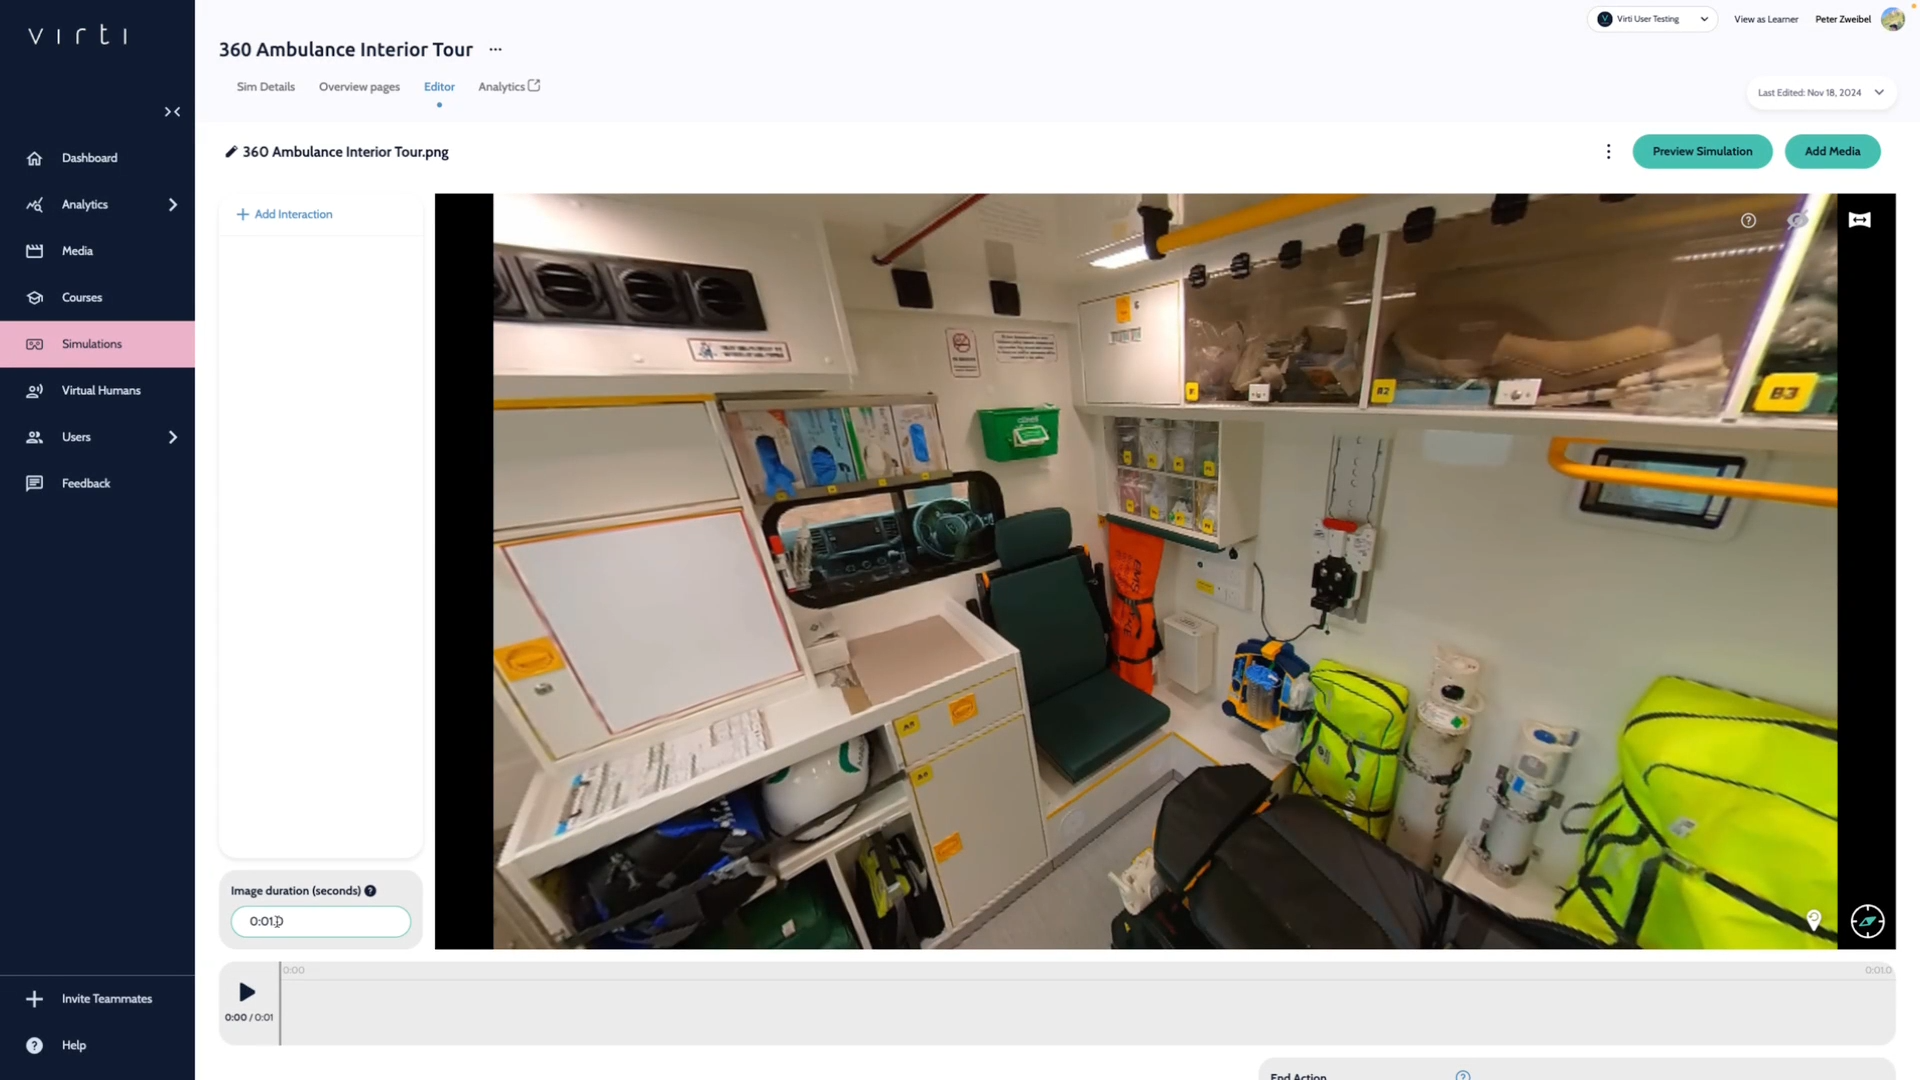
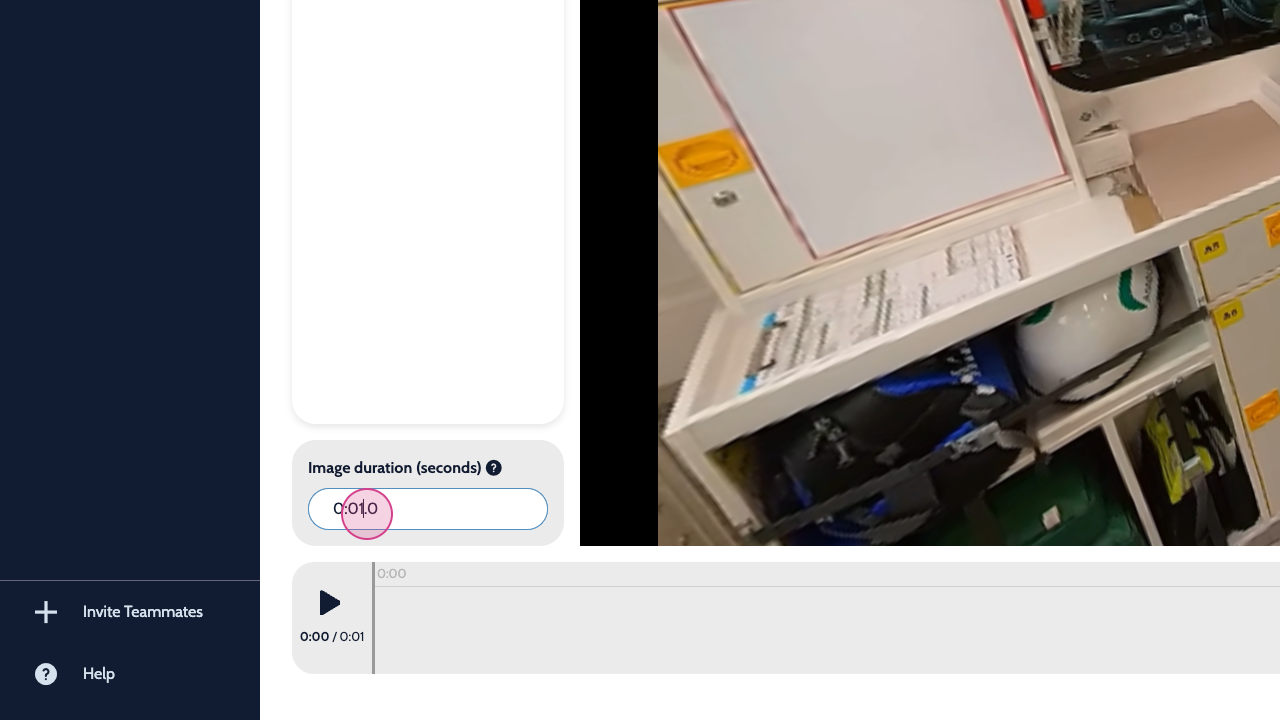
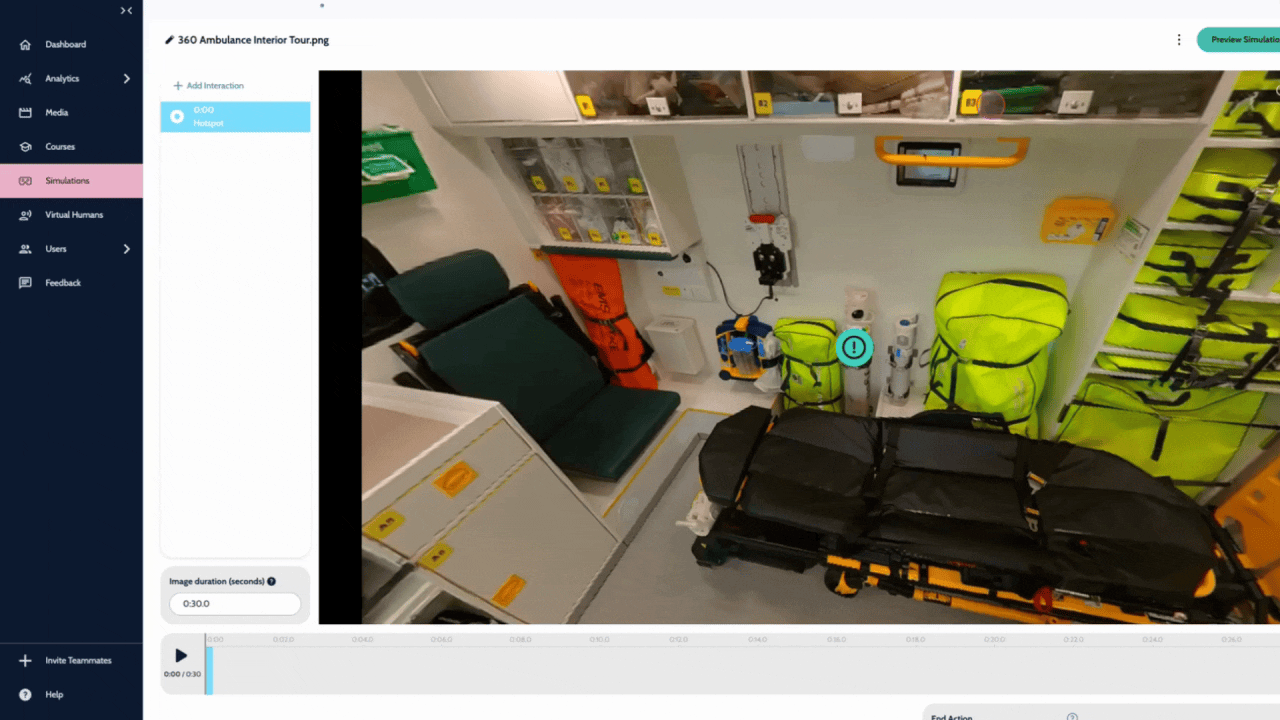
Step 4: Set the image duration. This determines how long the simulation will last. For this example, we're setting it to 30 seconds. The timeline at the bottom of the screen will reflect this duration.
Step 5: Next, add interactivity to the simulation. Right-click on the image to add a hotspot.
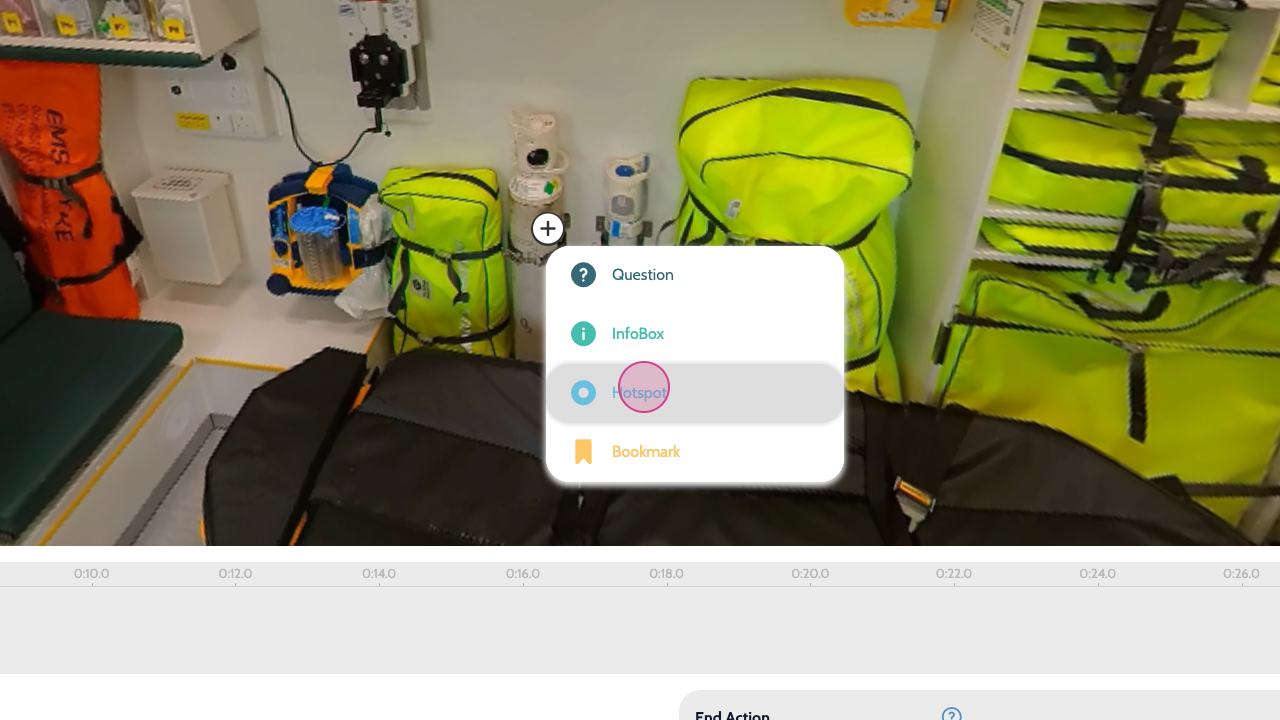
Step 6: Position the hotspot at the desired time on the timeline. In this example, it's set to appear four seconds into the simulation. By clicking play, we can see that the hotspot will appear at the 4 second mark.
In the same way you added videos to branch your storyline, you can add new images. Here we'll add 2 more images so the user can view the cab and the exterior of the ambulance as part of the same simulation.
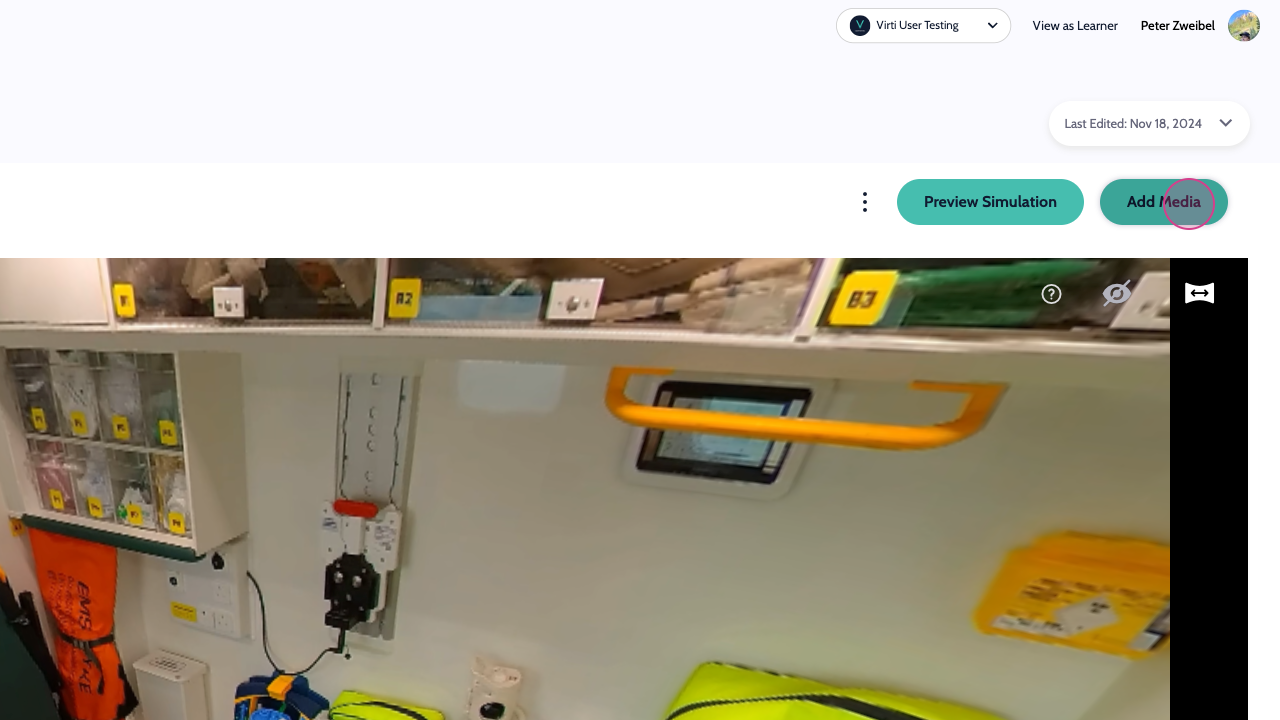
Step 7: Click add media, to add another image.
You can now see the three images that are a part of your simulation.
Step 8: Click edit on the first video, and then navigate to the end where you want the question to appear, and add a question.

Step 9: Add answers, and attach the other images via redirects.

Your tour is complete, the user can now navigate to a different location by answering the question.

That's it, you now know how to create a Virti simulation using a 360 image.
Need more help? Contact us at [email protected]