This guide explains how to create a branching virtual human learning experience.
A branching virtual human is an interactive tool where users select from a set of responses to converse with a virtual human avatar. This tool is especially useful for beginner level learners who are learning a concept or being exposed to a scenario for the first time.
First, start by creating a Virtual Human, and then click edit to get to your Virtual Human editor.
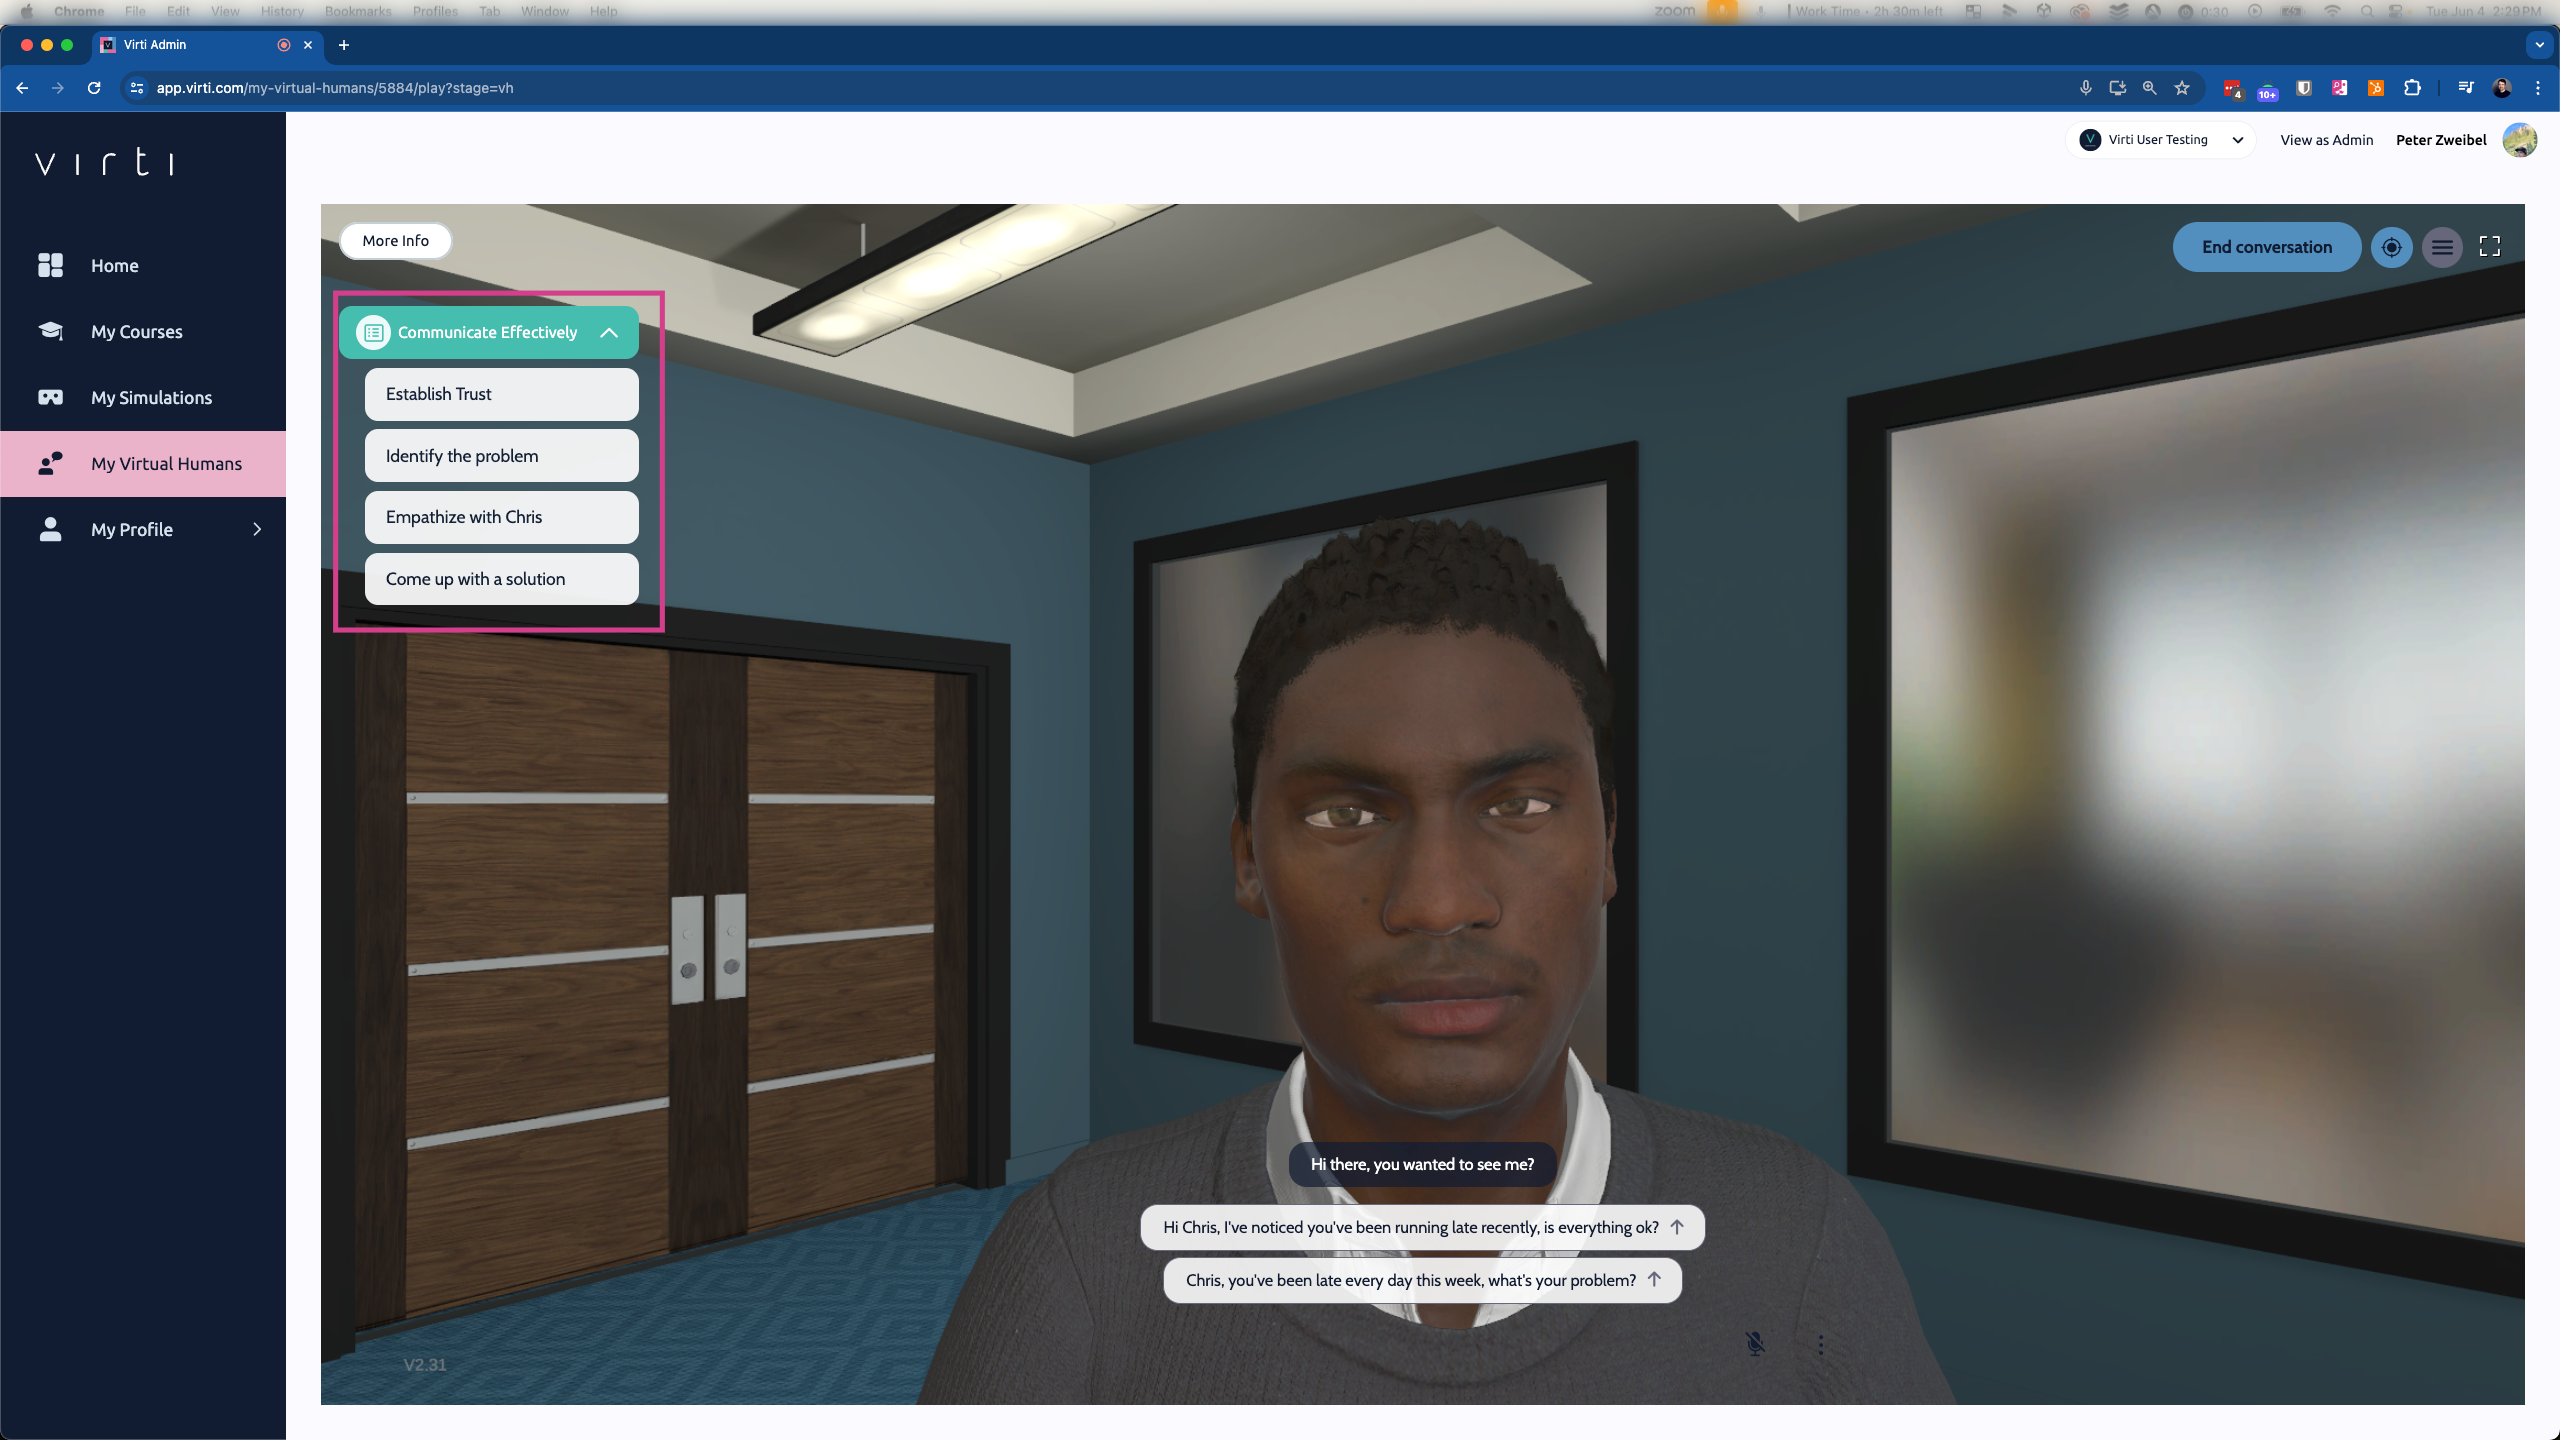
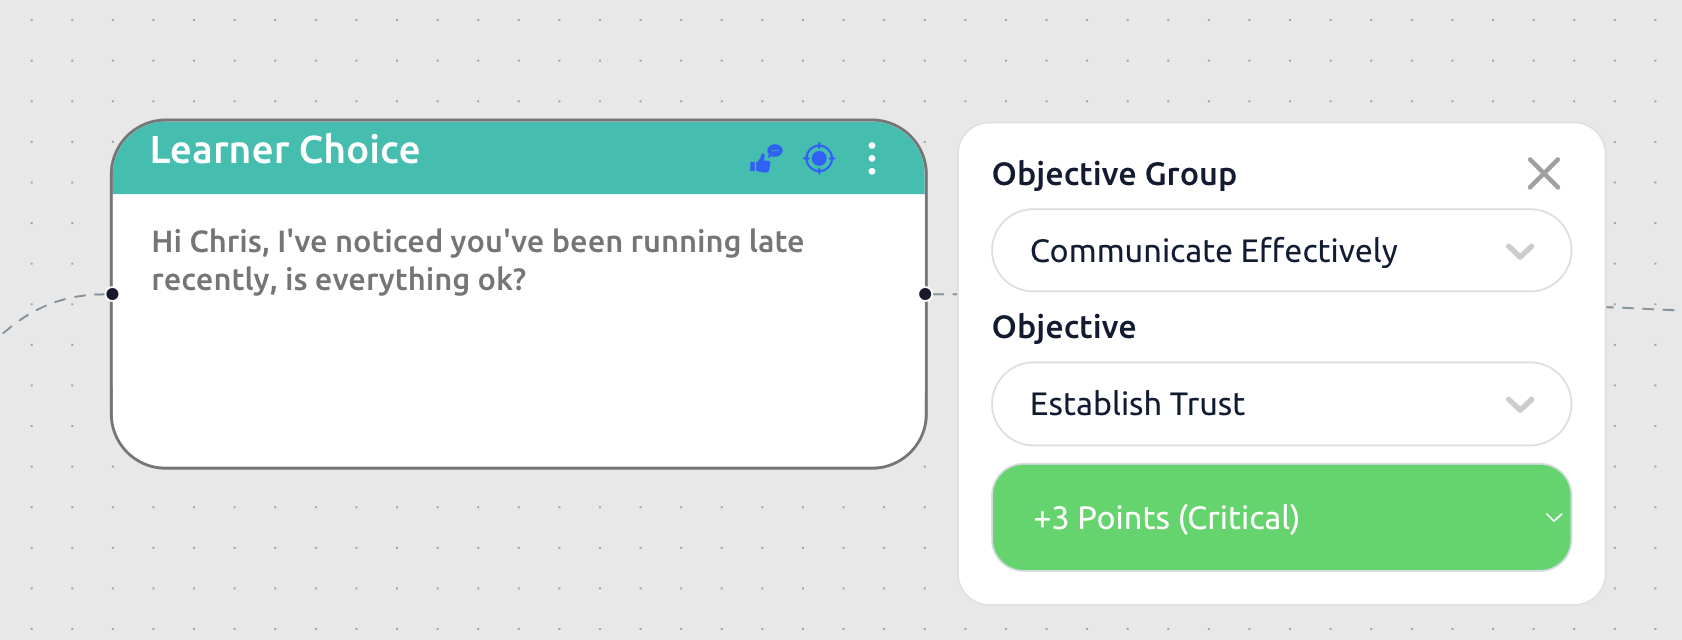
The best place to start is by adding learning objectives. In a branching Virtual Human, Learning Objectives serve as a guide to your learners (See image above), and allow you to assess performance, by letting learners gain or lose points based on the decisions they make. At the end of the session, you and your learners will be able to see how they performed, based on how many objectives they hit.
To add learning objectives, click on the Objectives tab.
Begin by adding one or more objective groups. An objective group is a top level goal such as "Communicate Effectively"
Add in objectives and assign them point values. Objectives should represent behaviors that your learner should exhibit during the conversation. Such as "Establish Trust"
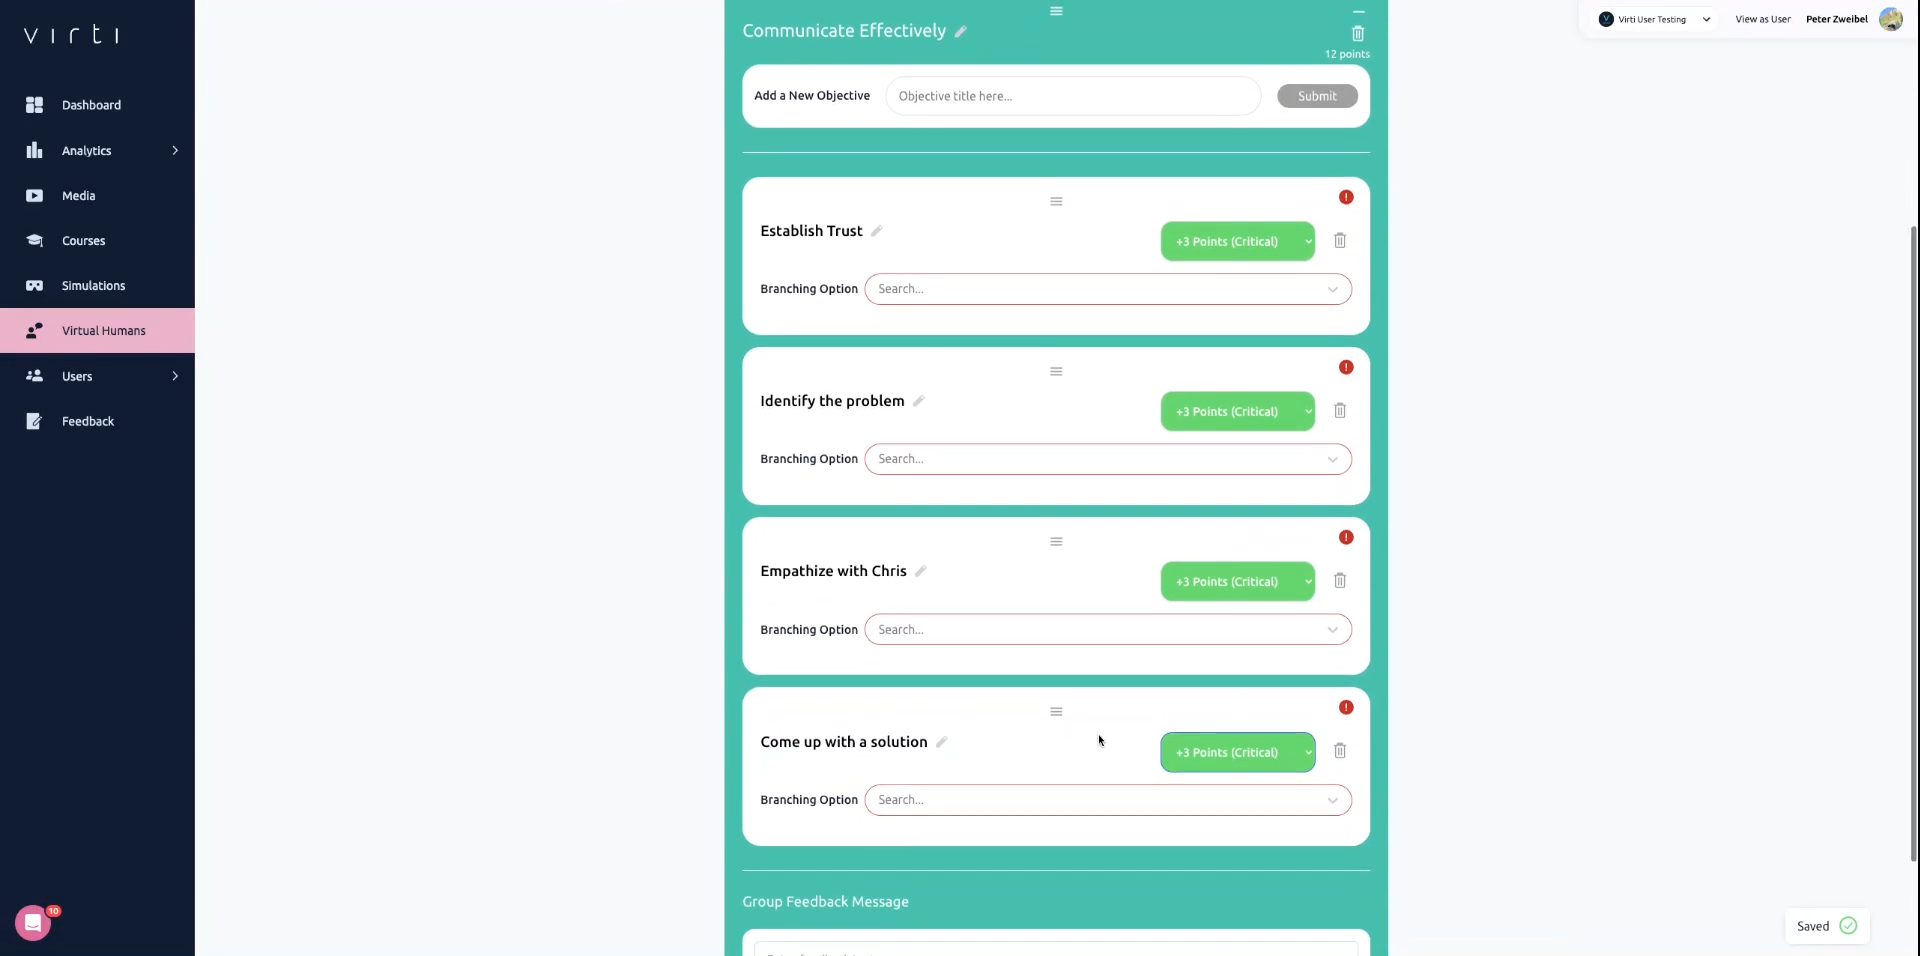
Tip: The exclamation point means that the objectives are not yet tied to a conversation item, don't worry we'll take care of that later.
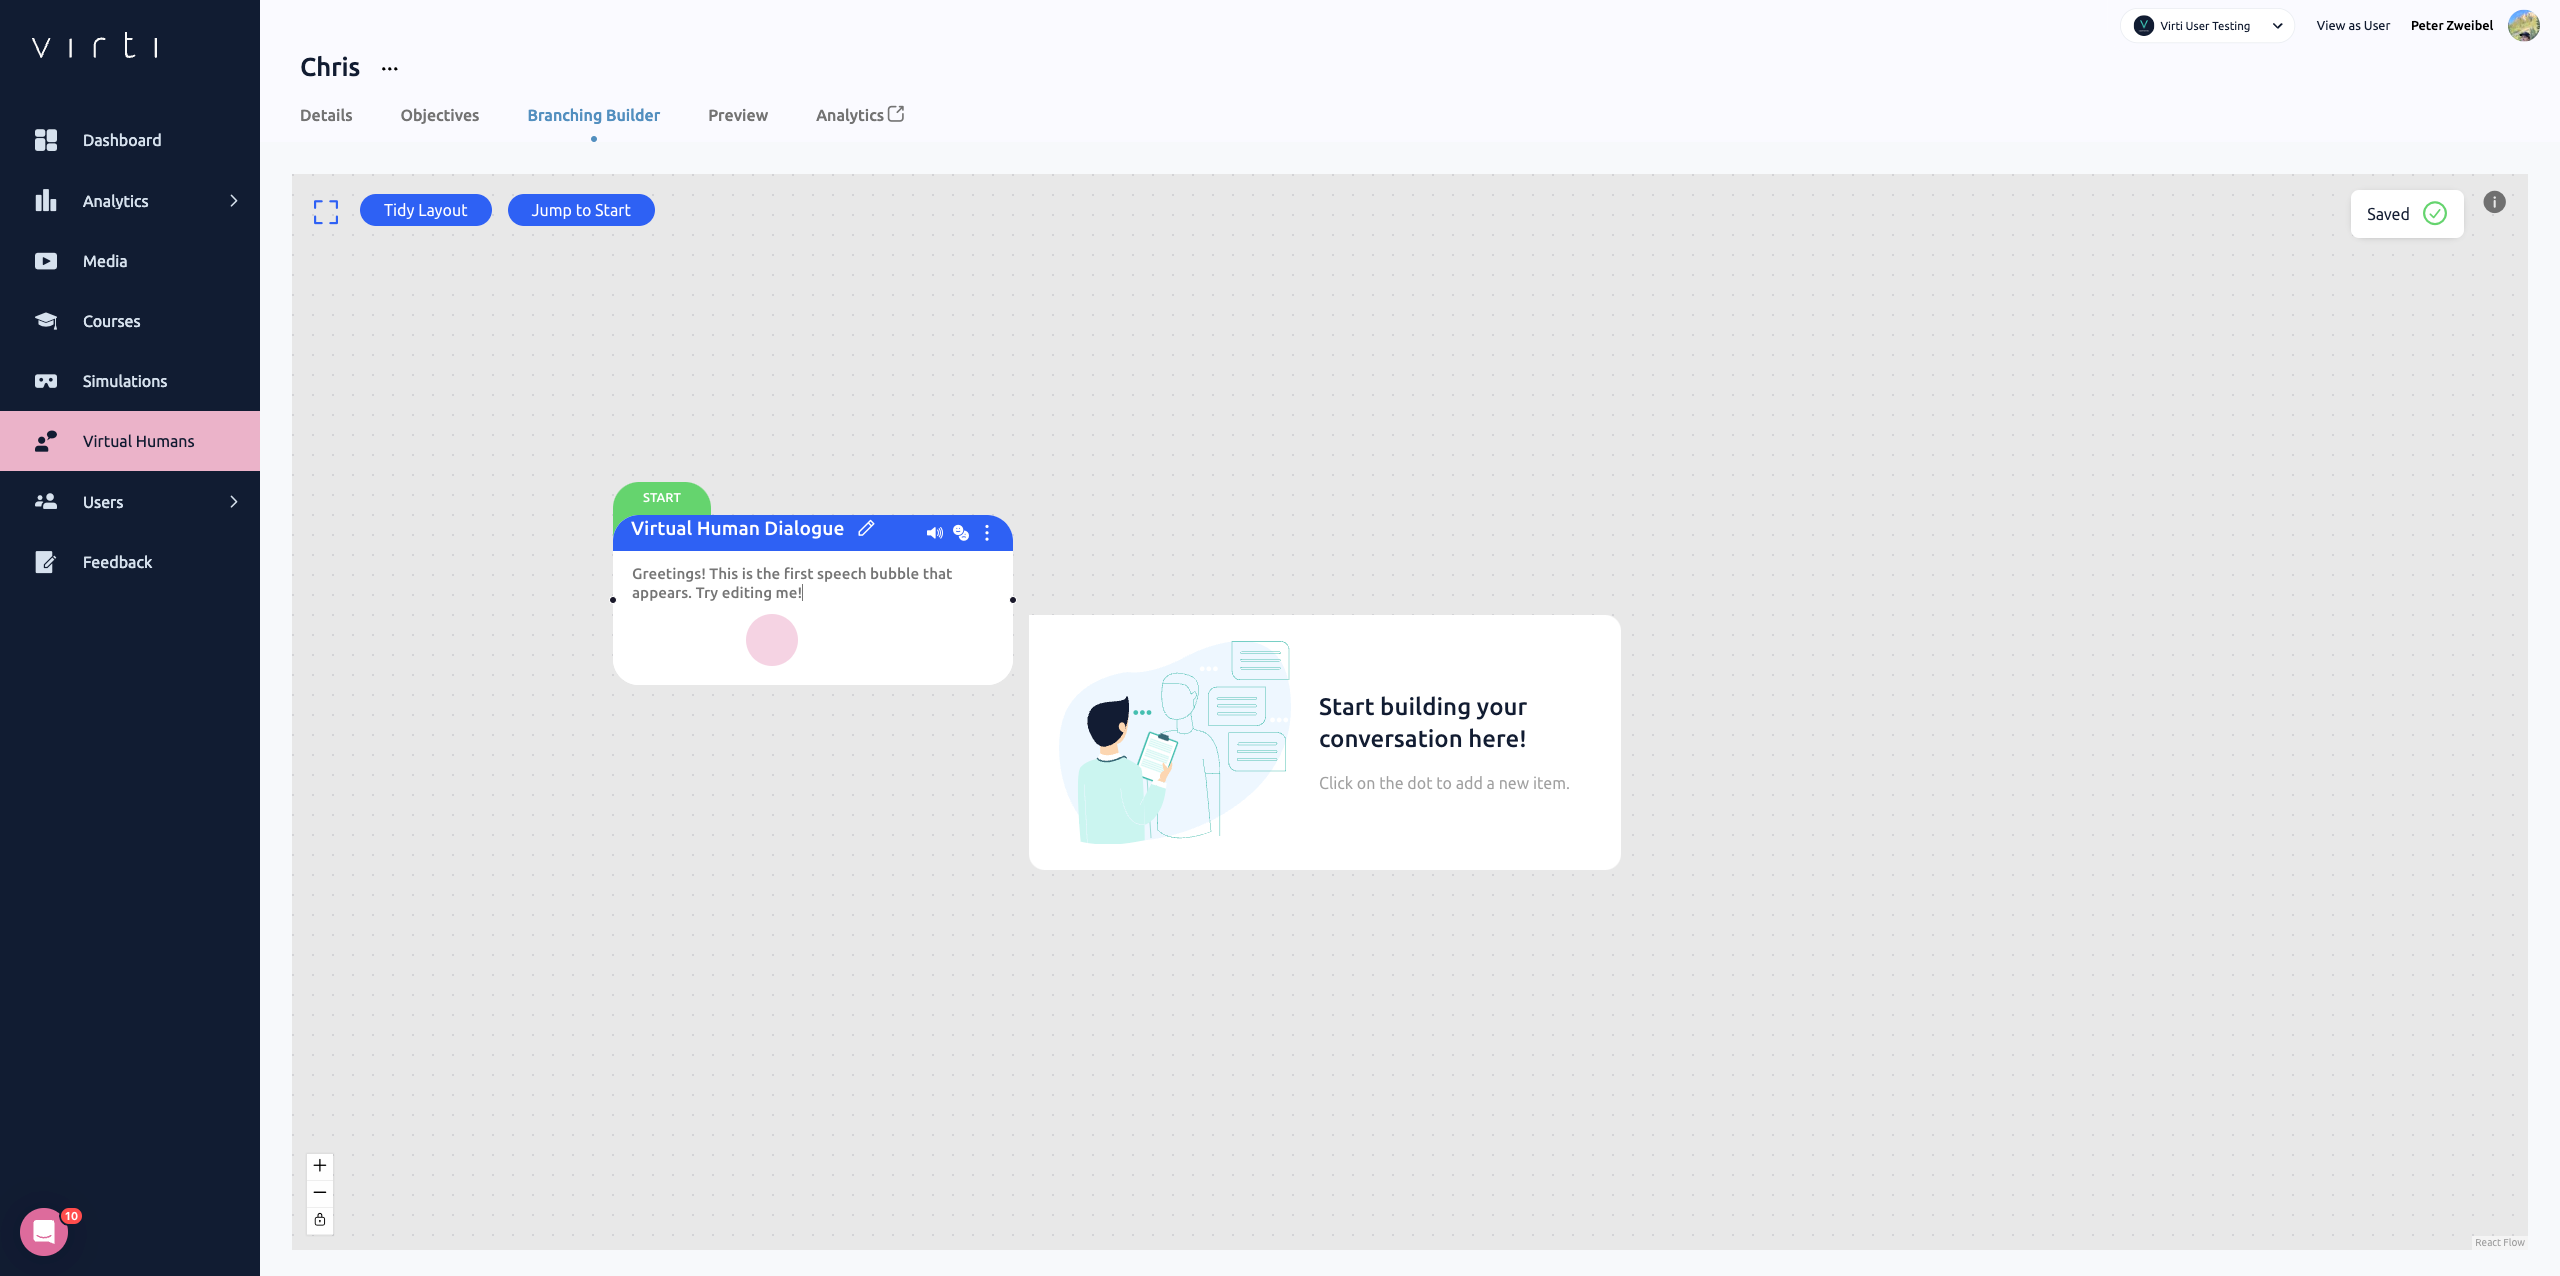
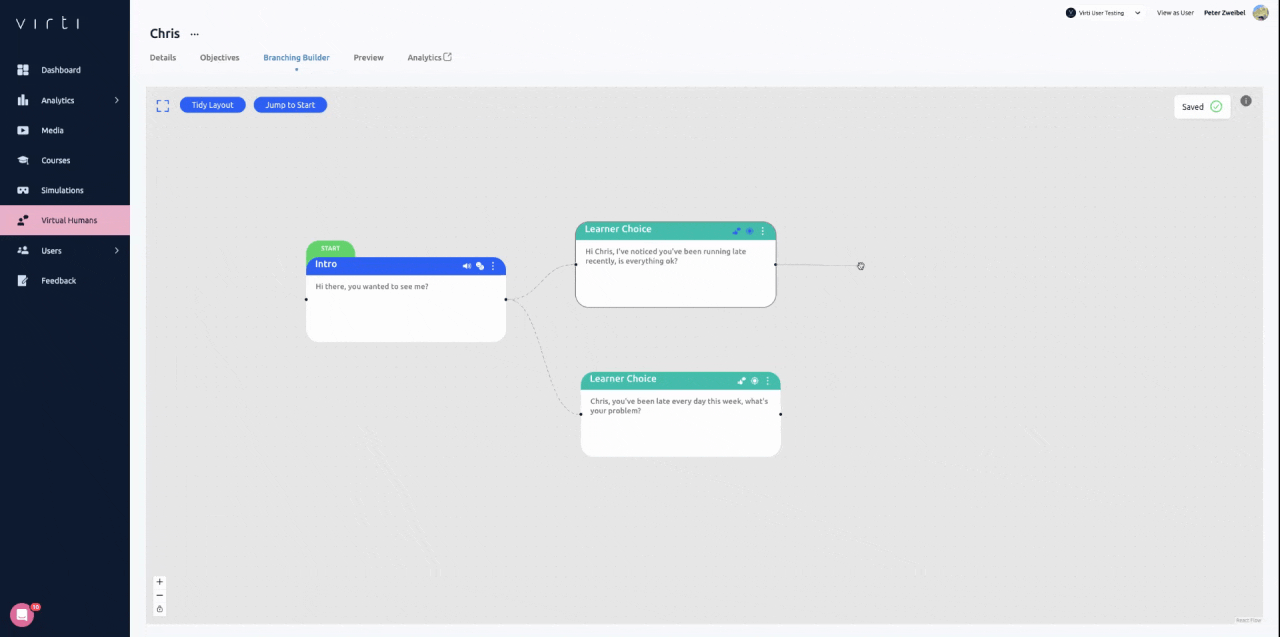
Now that our scenario has objectives, we can start building out the script of the conversation. The branching storyline builder, is an easy-to-use, drag-and-drop, node-based storyboard tool, that allows us to map out a conversation. By creating a branching storyline we can allow learners to choose their own adventure, and take them down different paths based on their choices.
To build out the conversation, click on Branching Builder
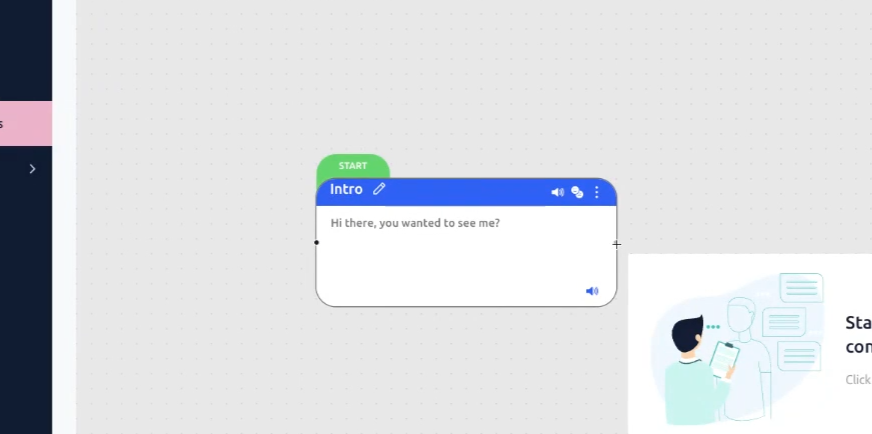
Start by editing the first node, to add what the Virtual Human will say to kick off the conversation.
Add branches to your story for your learners to choose from by clicking and dragging from the edge of the first node, releasing, and then selecting Learner Choice.
Best Practice: Keep it simple, and add a correct choice, and a wrong choice.
Click the target icon to assign this choice to one of your objectives, so if your learner selects this choice, they will get credit for hitting this objective.
Click on the thumbs-up icon to provide instant feedback that will be given to the learner when they make their choice.

Best Practice: Telling the learner why their choice was right reenforces positive behavior, and telling the learner why their choice was wrong, can help correct negative behavior.
Next, add another Virtual Human node to each Learner Choice, to create the Virtual Human's response and demonstrate to the learner the consequences of their decision. Depending on what they pick, the Virtual Human will respond differently.
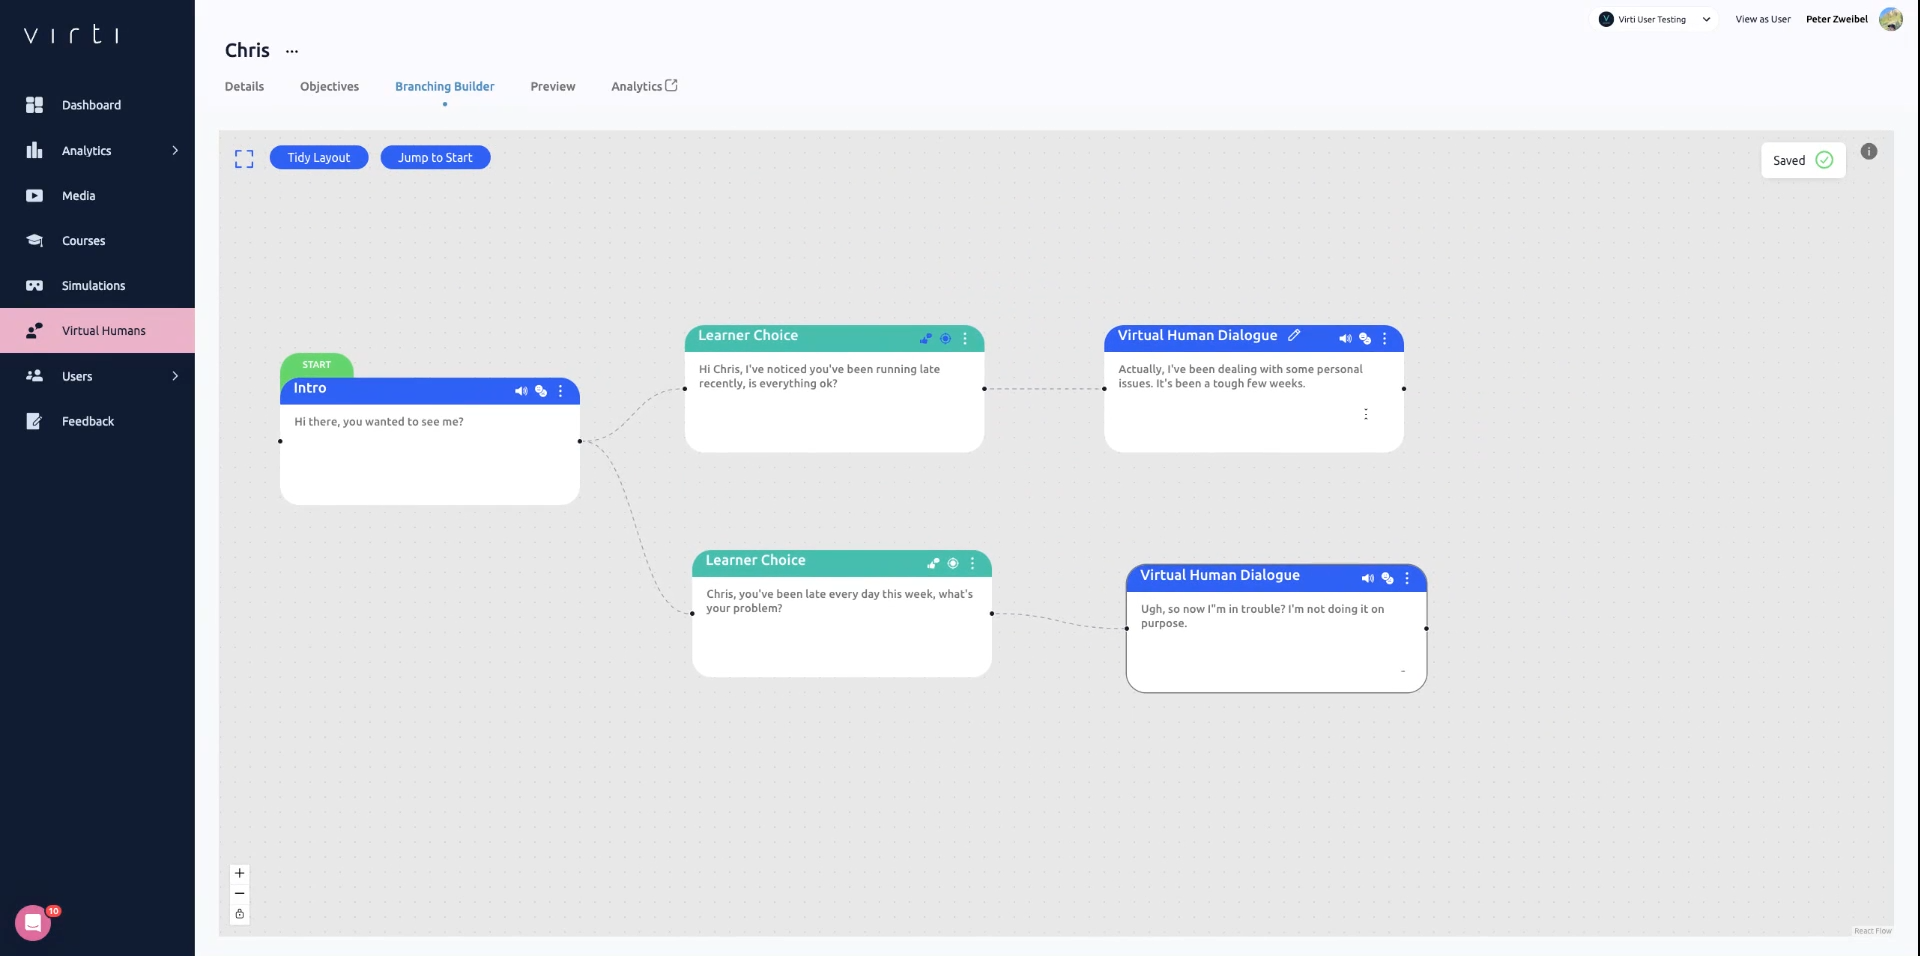
By hitting the faces icon, you can give the Virtual Human a facial expression for their response.
To bring your conversation to an end, add in a End Dialogue node.
Once you're done building your conversation, click on Preview to test out your branching Virtual Human.
Need more help? Contact us at [email protected]