This guide explains how to upload media, create a simulation, and make it interactive on the Virti platform. A Simulation is a scenario-based learning tool that replicates real-world scenarios in a controlled, virtual environment. It allows learners to engage in interactive, immersive experiences that mimic actual tasks, processes, or situations they might encounter in their field of work or study.
To get started navigate to the "Media" section in the side navigation bar, where you will begin by adding in video content, either 3600degree video or 2D video.
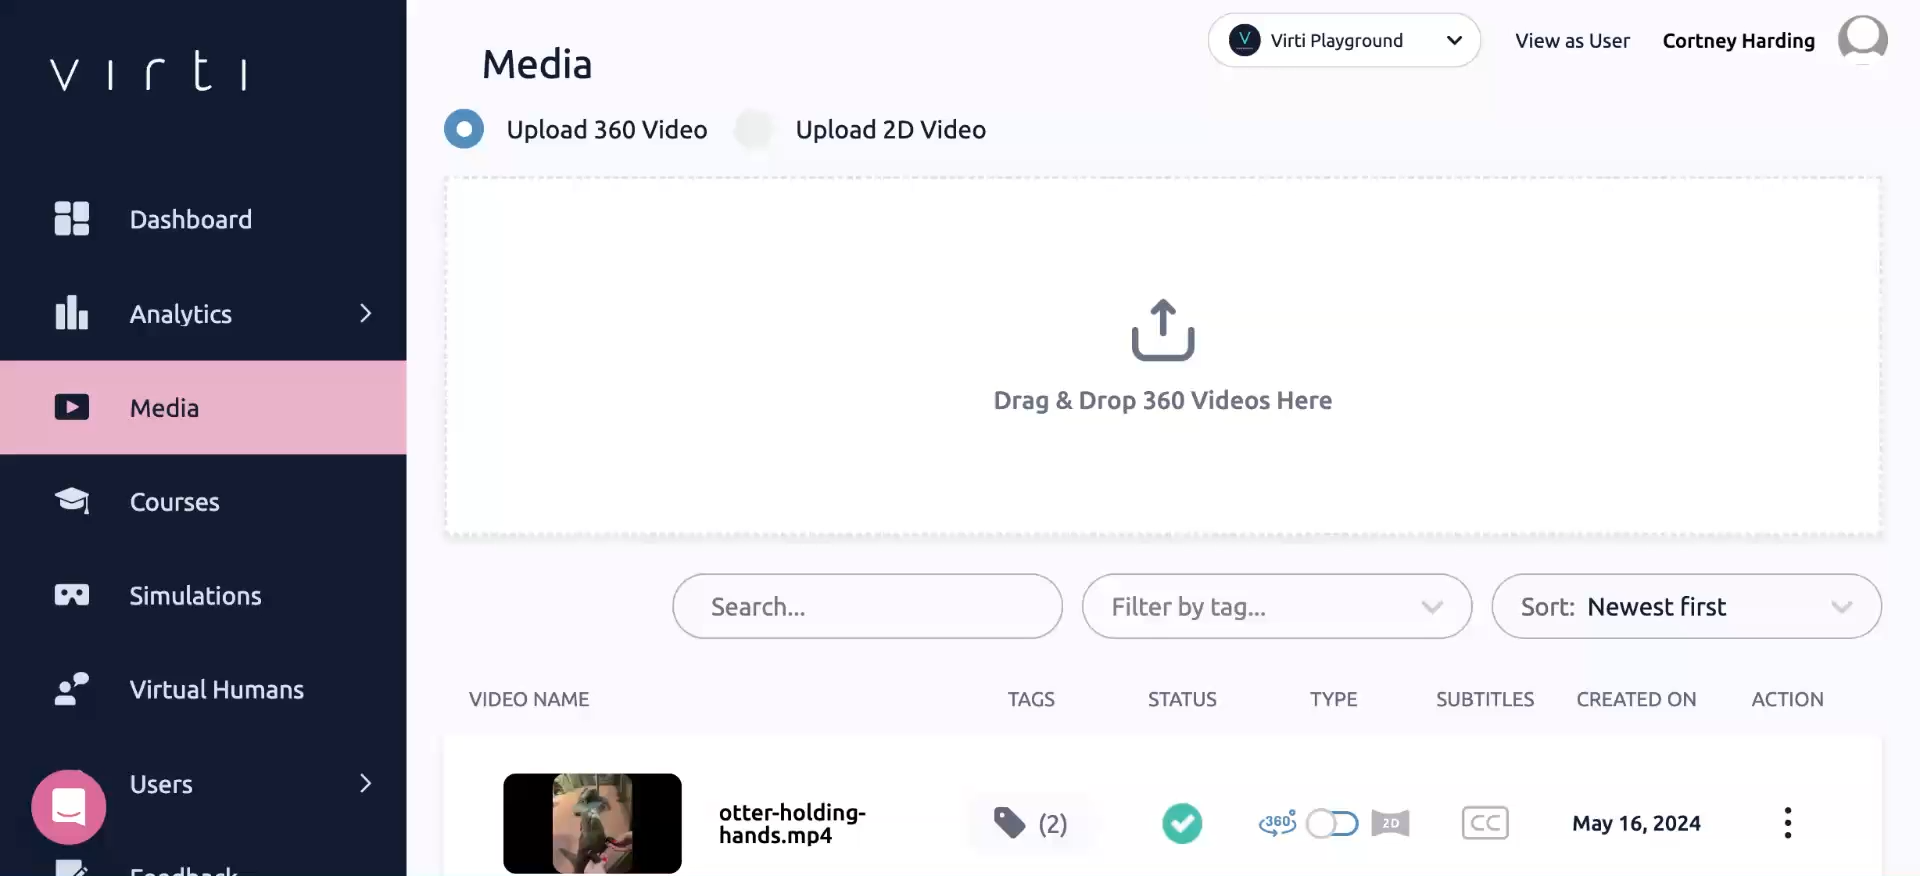
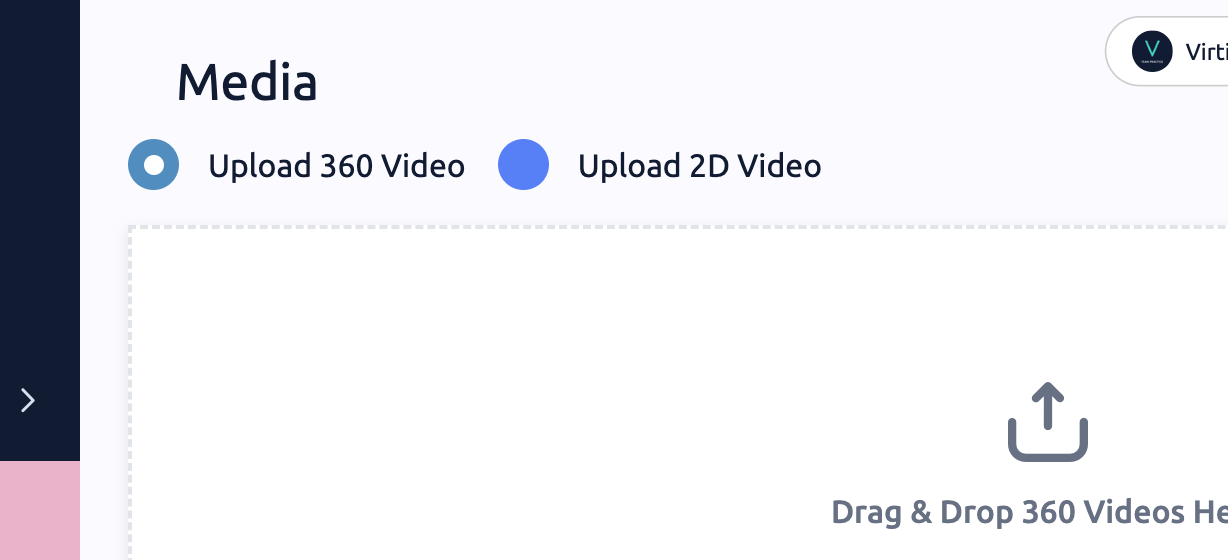
Choose which type of media you are uploading se the radio buttons to select whether the video you are uploading is a 360-degree video or a 2D video.
Add your media - Drag and drop your video files into the uploading area, or click on the area to add your file from your computer. You can upload one video at a time, or add multiple files at once.
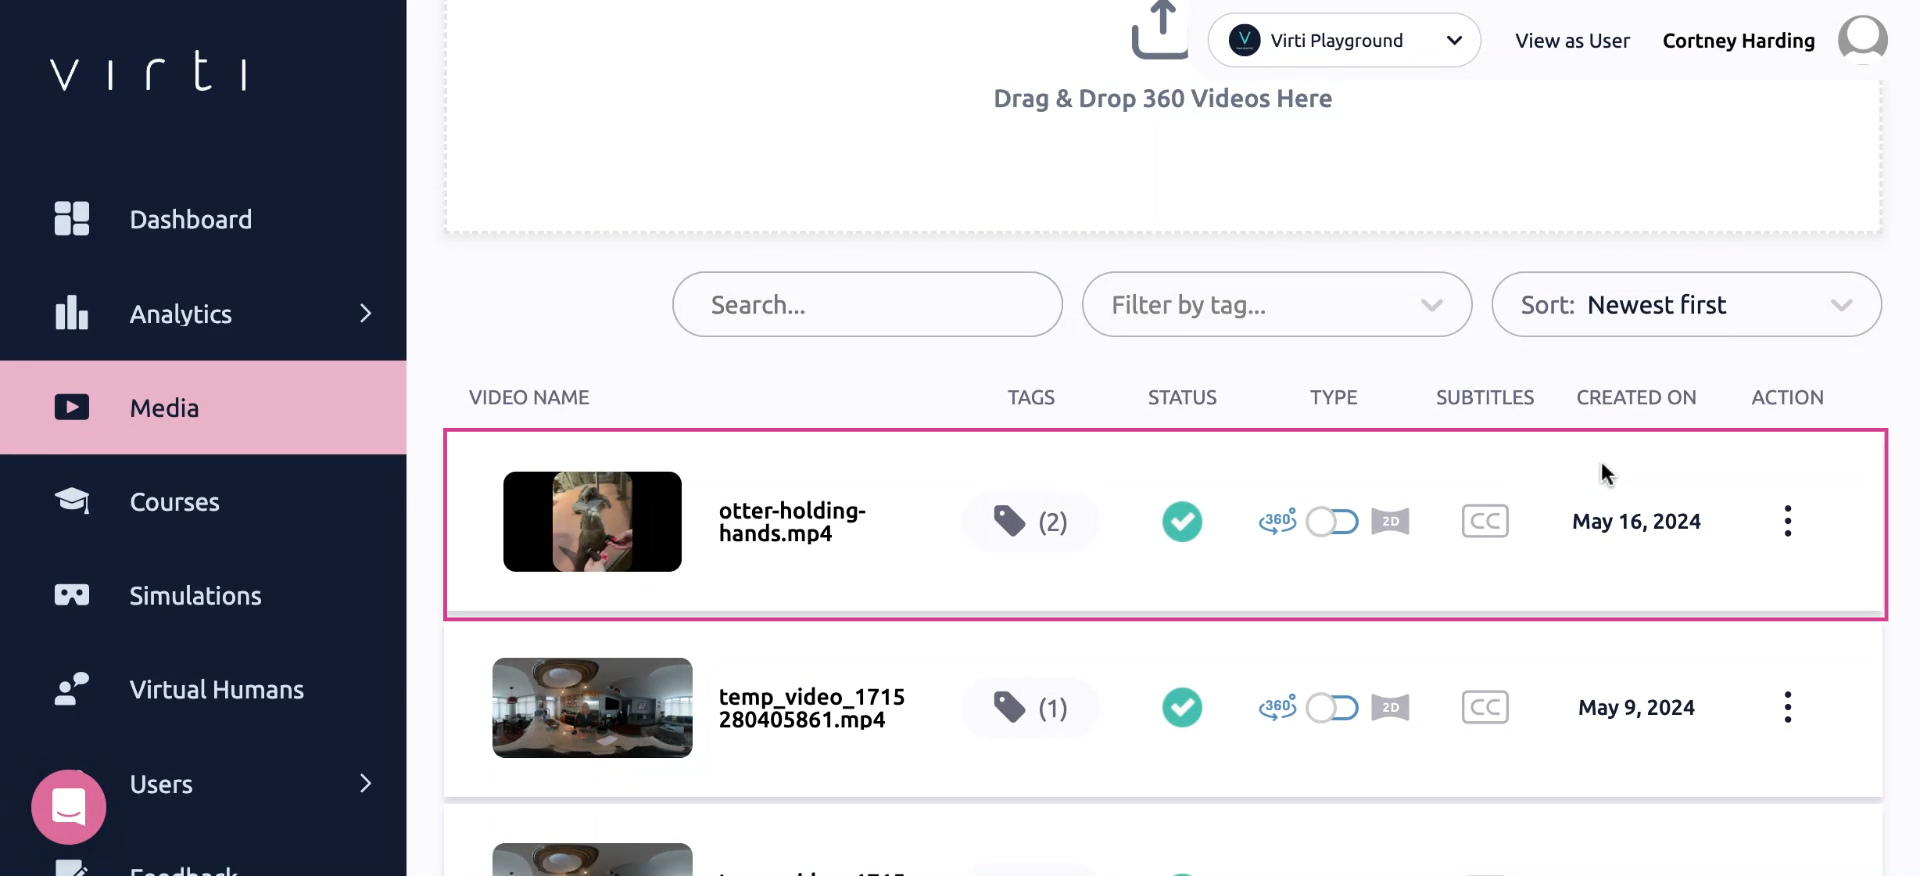
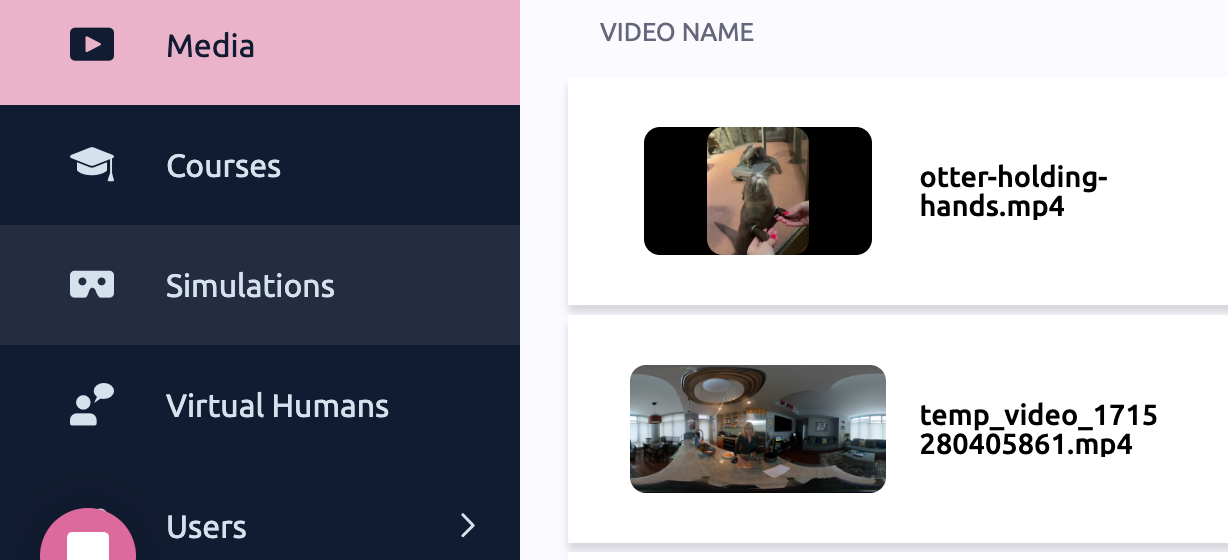
Your video will then upload and appear in the video list. Once it's uploaded the transcoding process will begin, which ensures that your video is available in a range of video qualities. Once that is complete you will see a checkmark in the "Status" column, and your video is all ready to go.
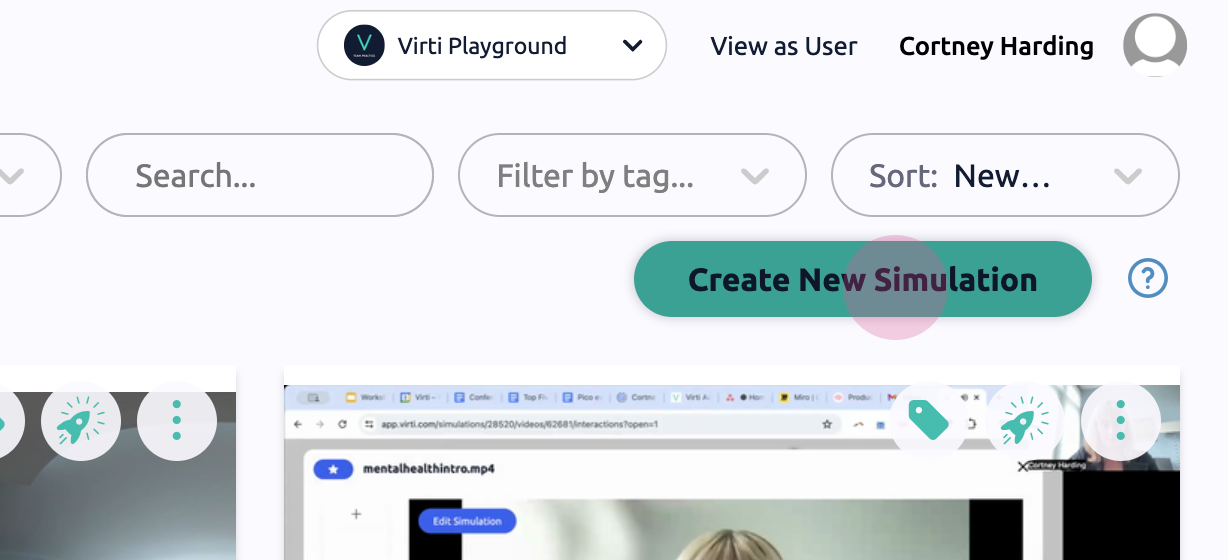
Next we will create a simulation using your uploaded video. To start, click on the Simulations in the side navigation bar
This page displays all of your existing simulations. To create a new one, hit Create New Simulation.
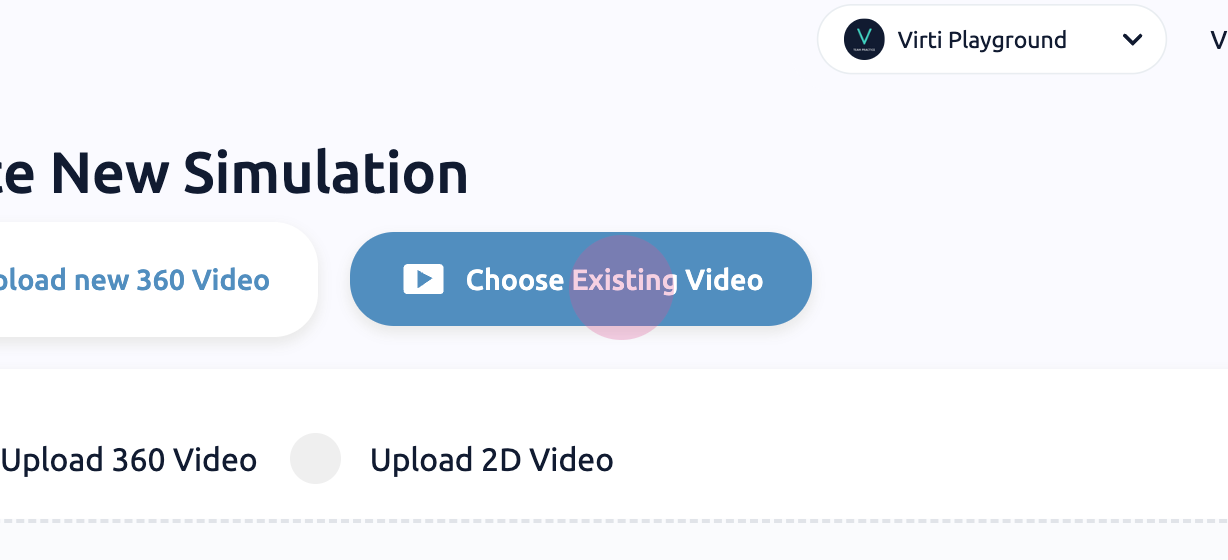
Next you can either add a new video, or use the video that you've already uploaded. To use the video you already uploaded hit Choose Existing Video.
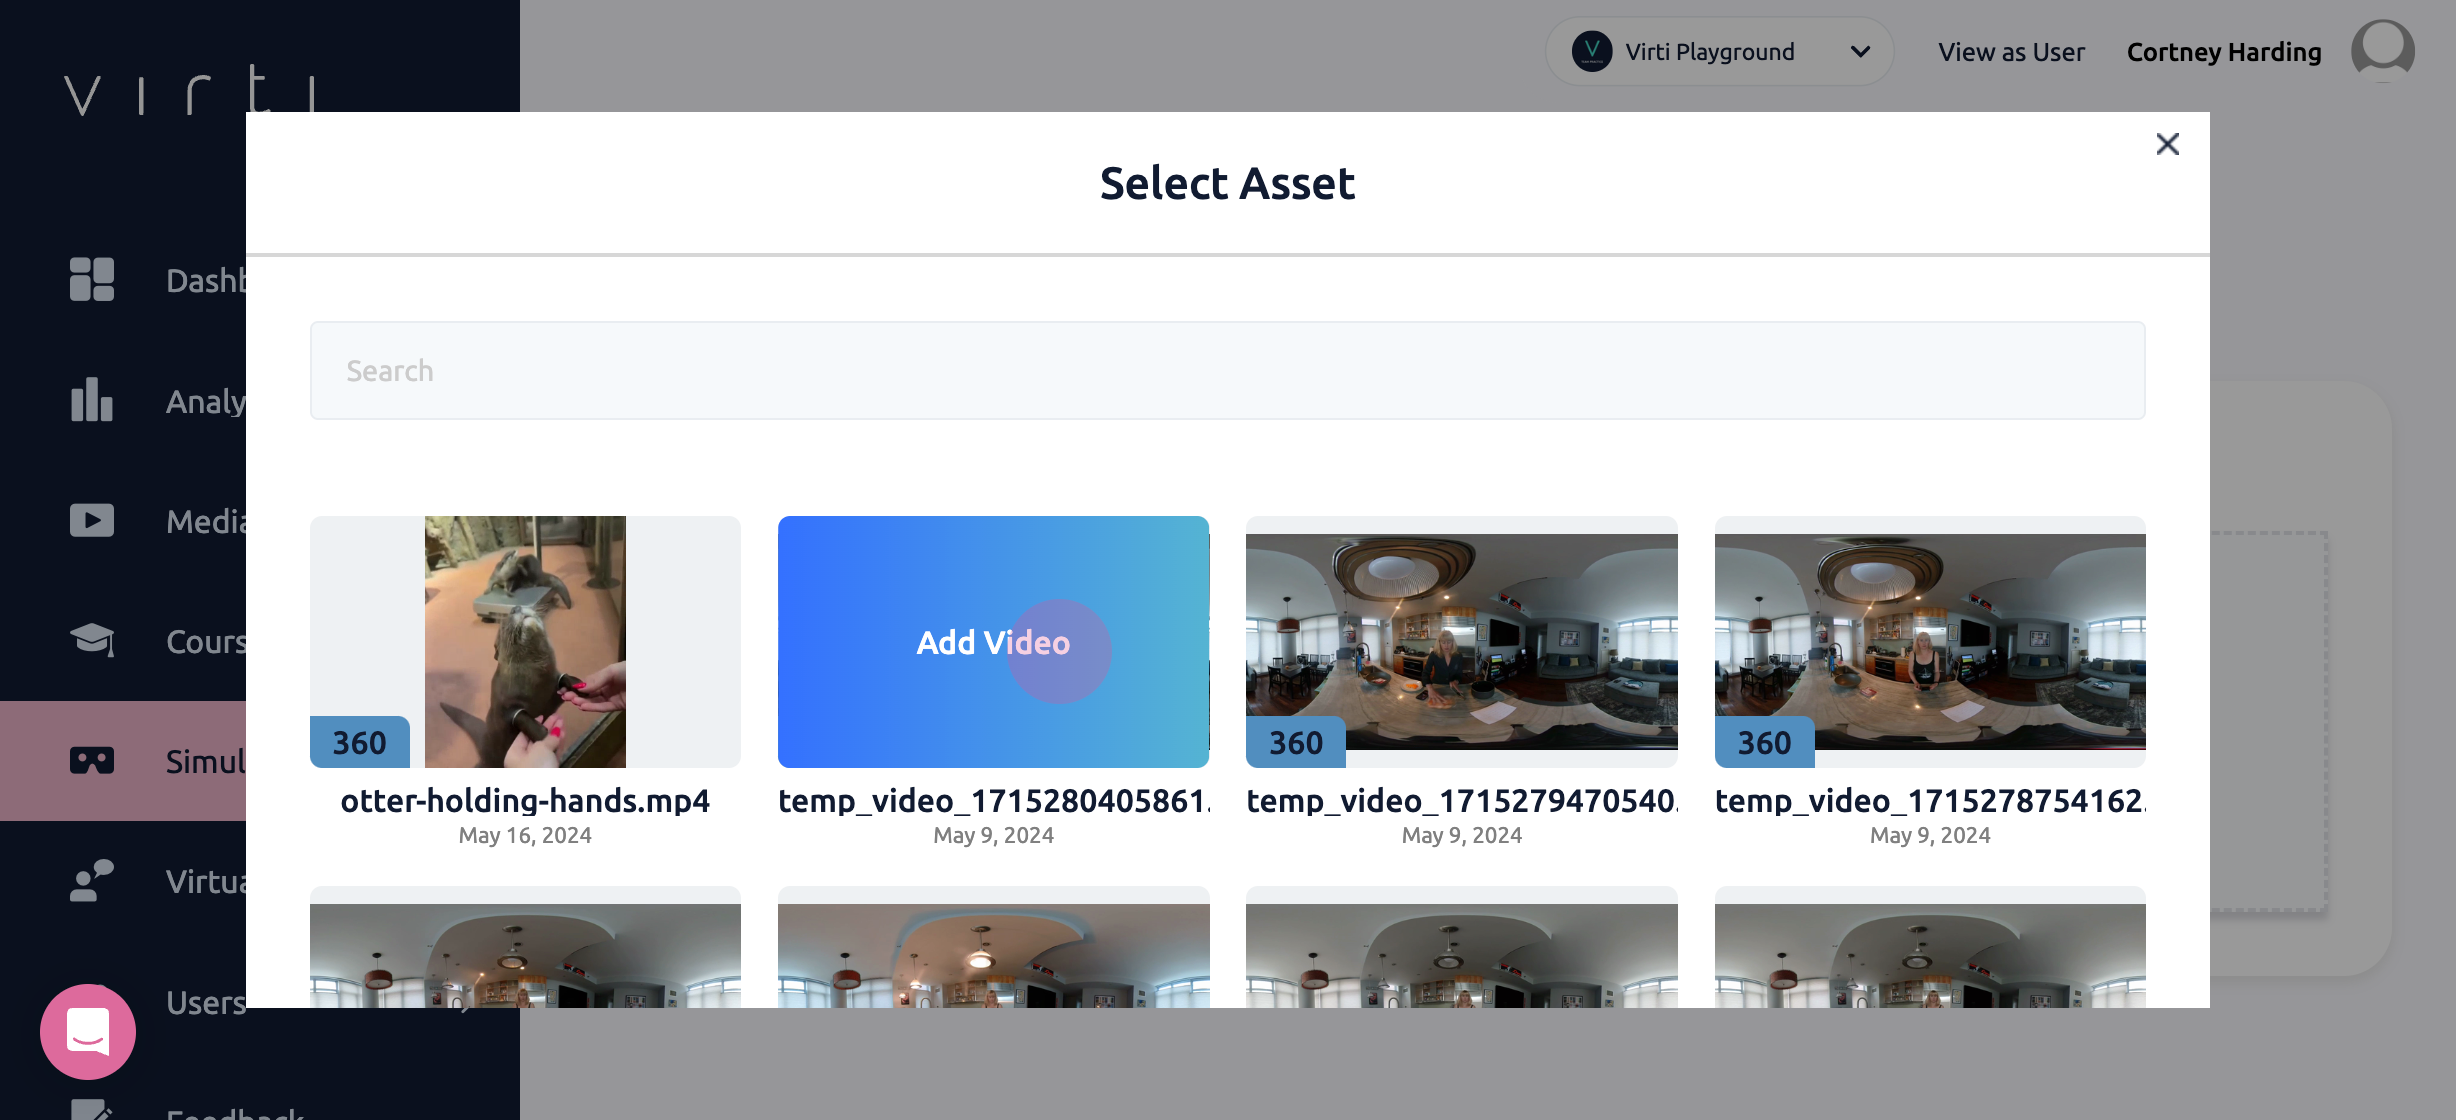
In the Asset Library that pops up, hover over the video you want to begin with, and hit Add Video.
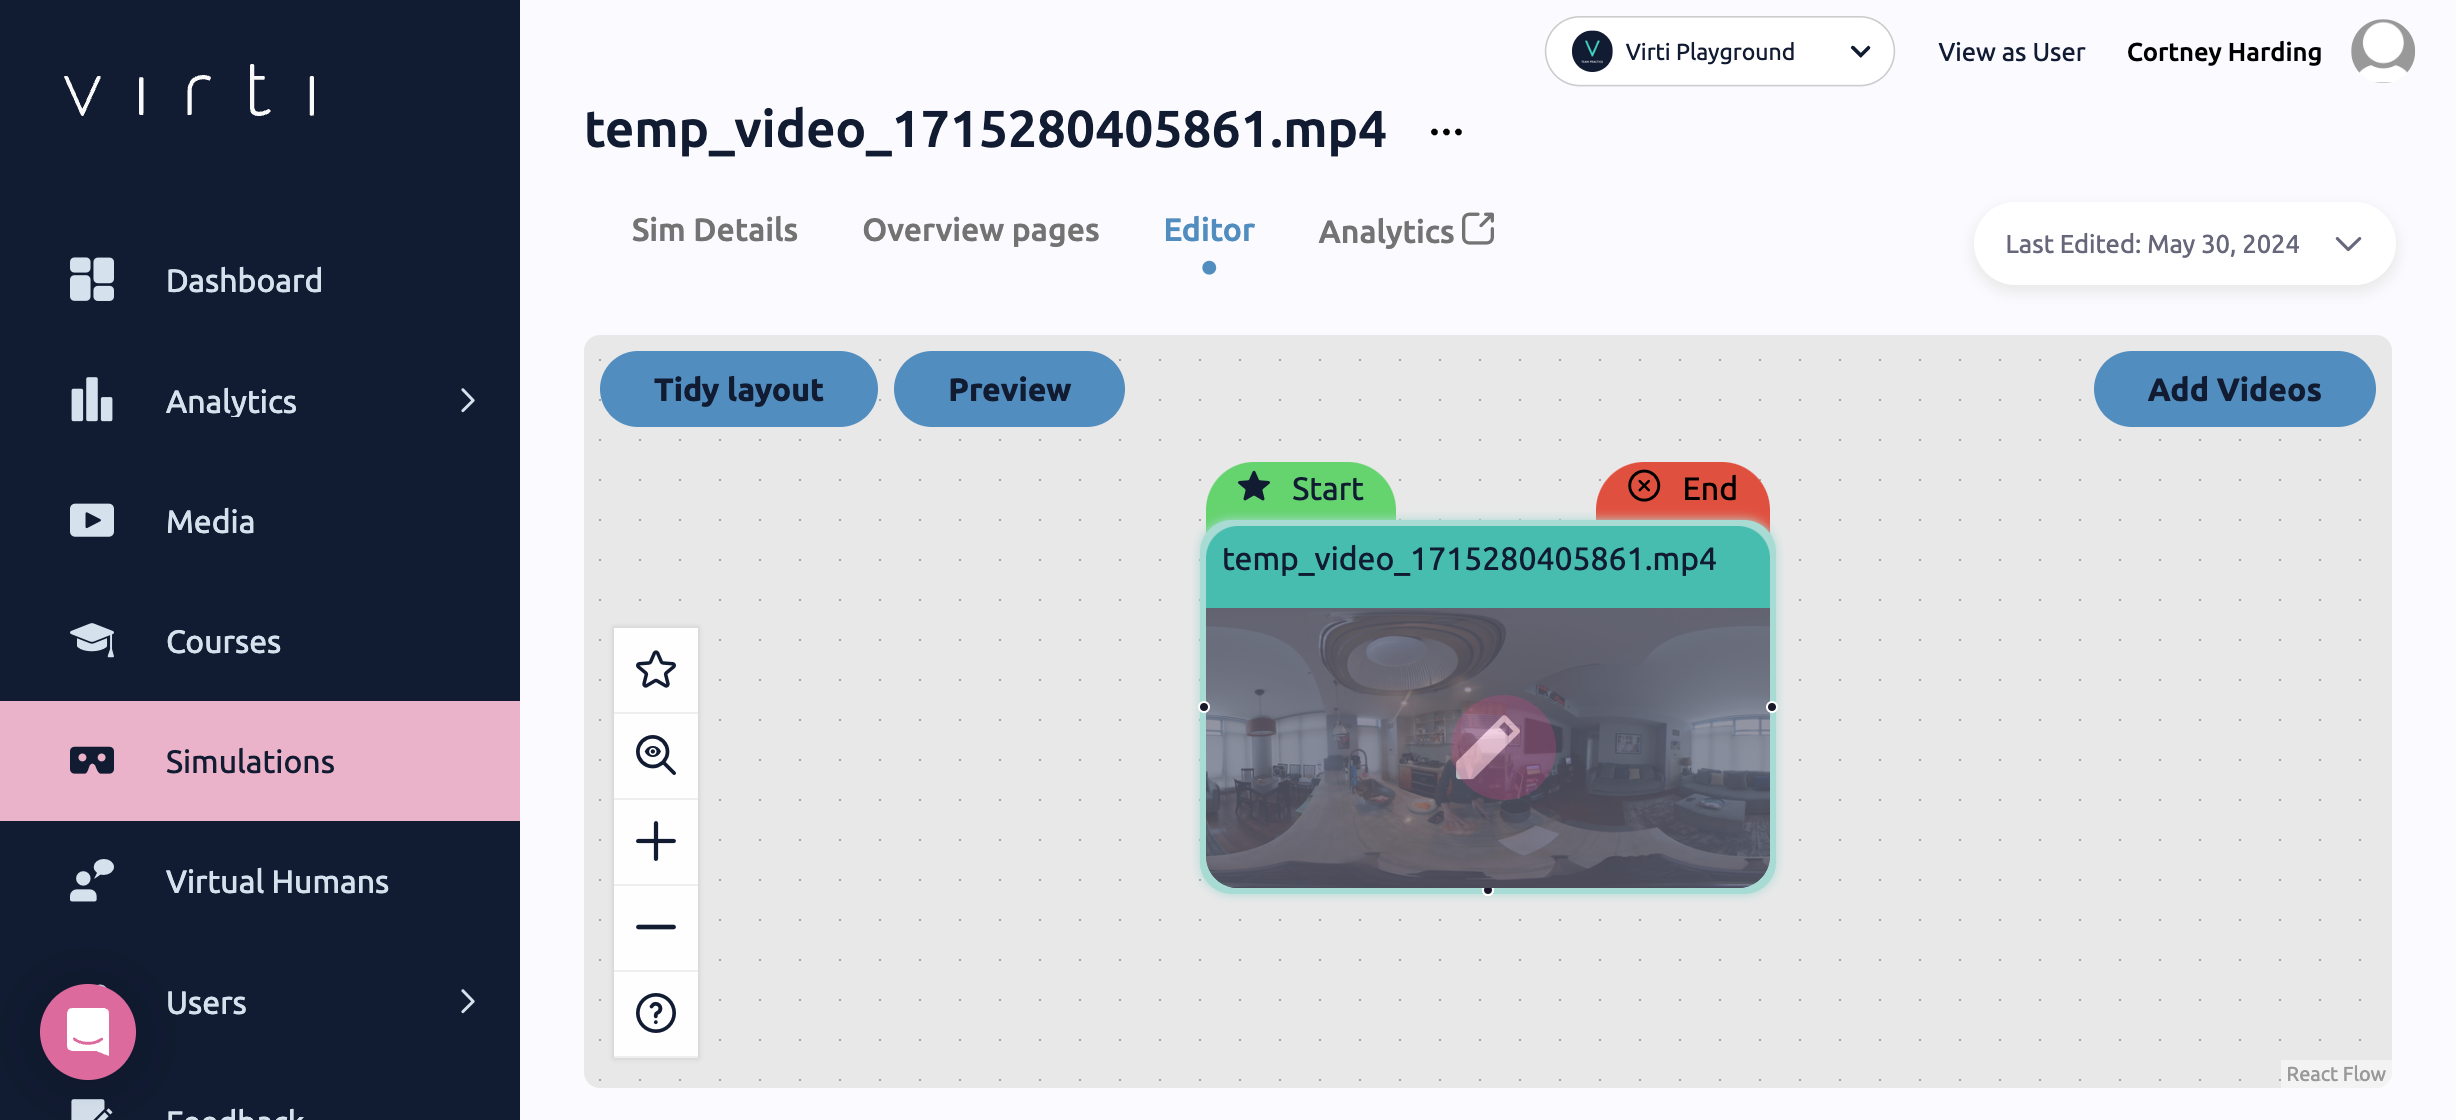
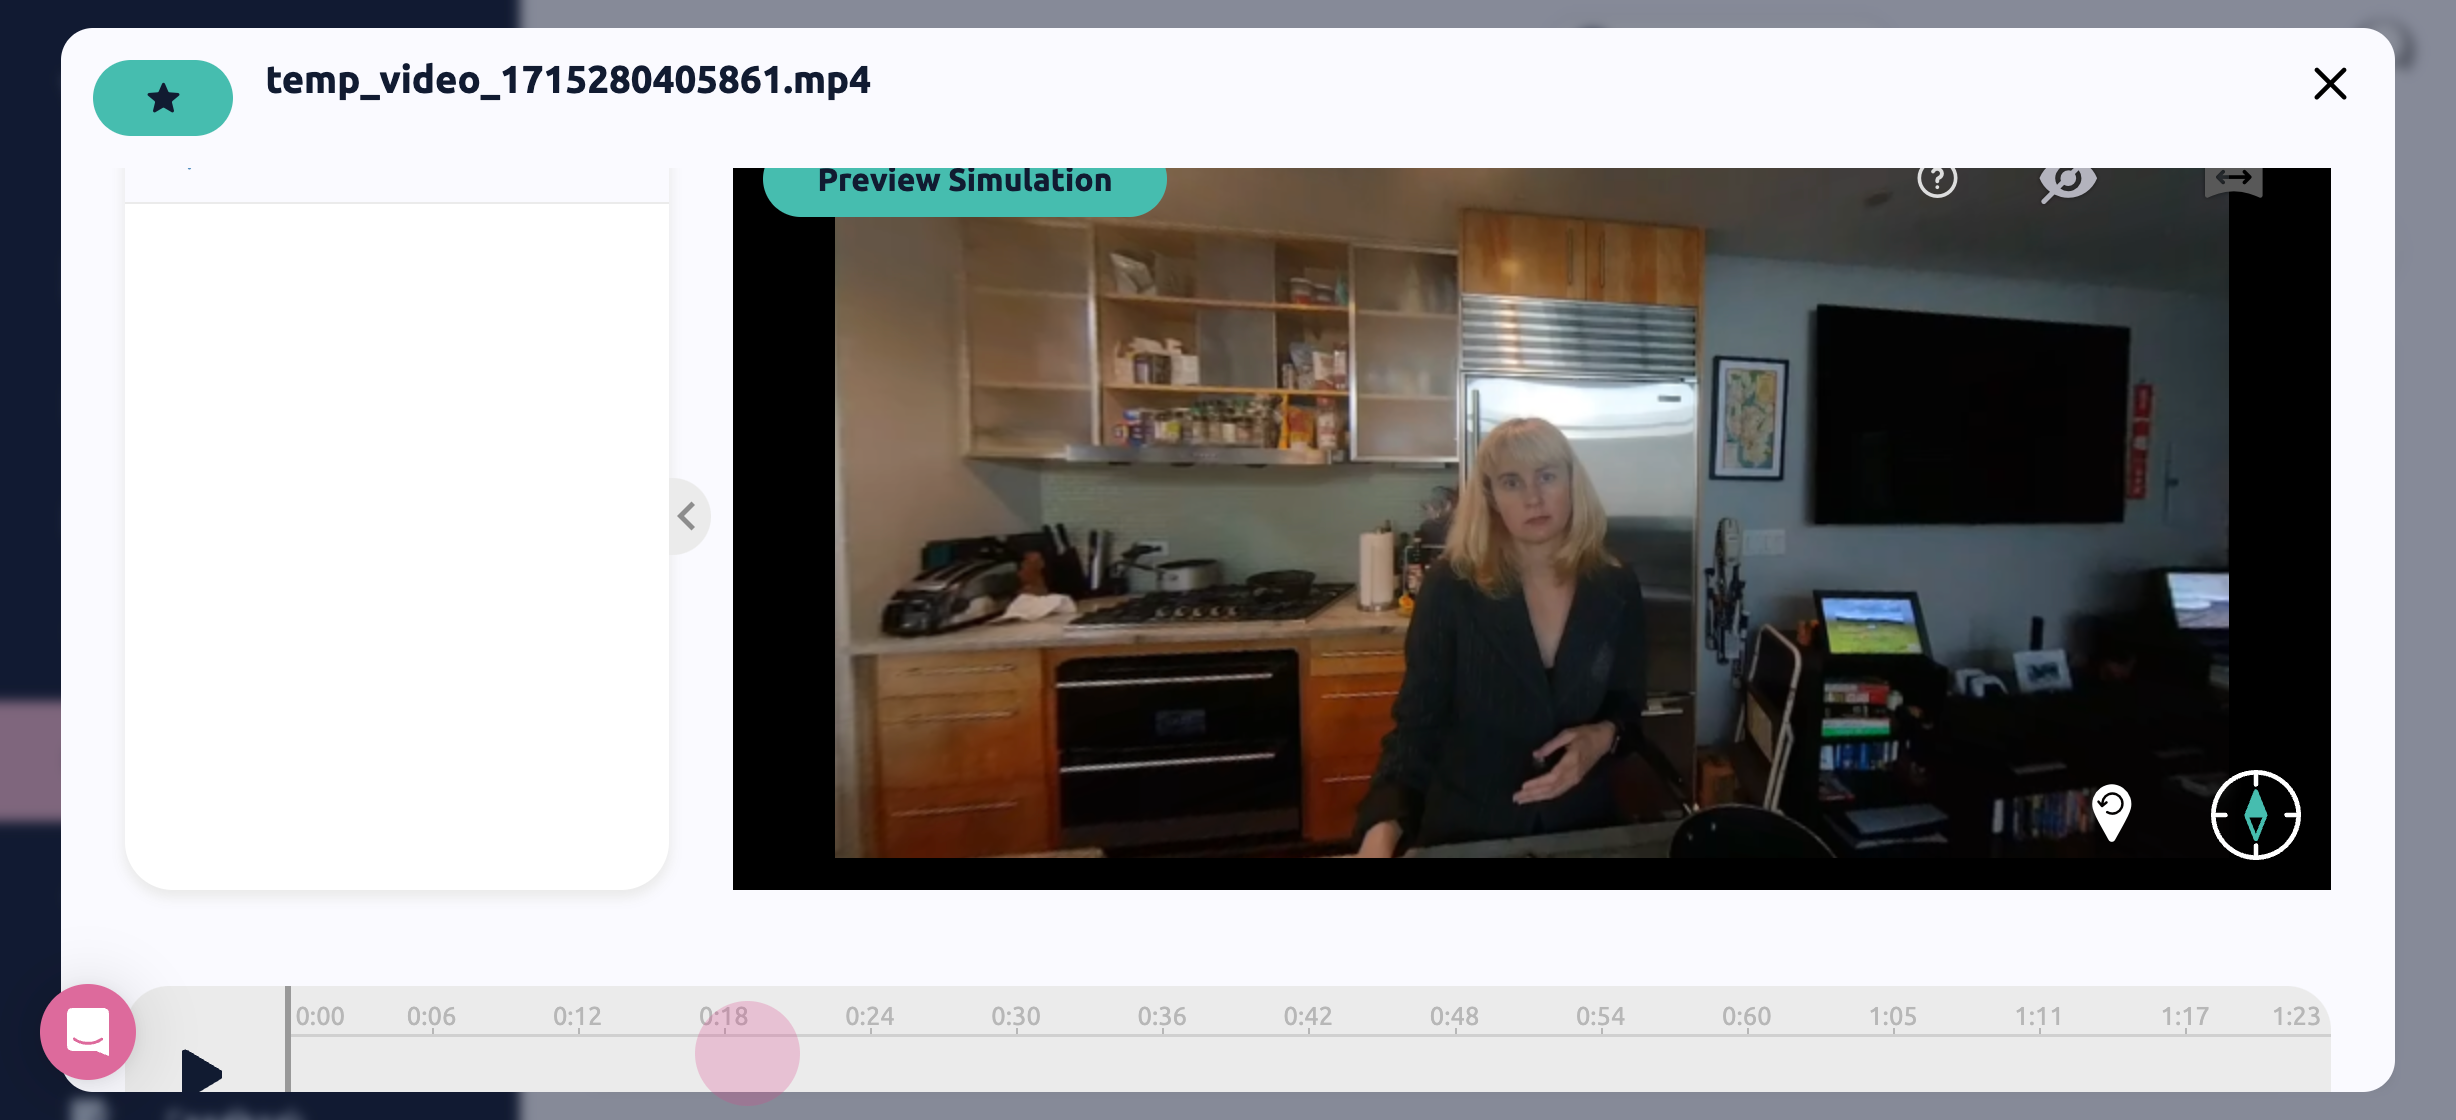
When you add your video, you will land in the Simulation Editor, where you will see your first video on the story map. Here we get an overview of view how all of the videos you've added fit together as well add more videos, to create a branching storylineNext let's add some interactivity to this video, by hovering over the thumbnail and clicking the Pencil Icon.
In the video editor you can use the timeline and player controls at the bottom to play through your Video. Play through the video and click on the timeline to find the spots where you want to add interactivity. When you add an interaction, it will be placed at the timestamp of your current position on the timeline.
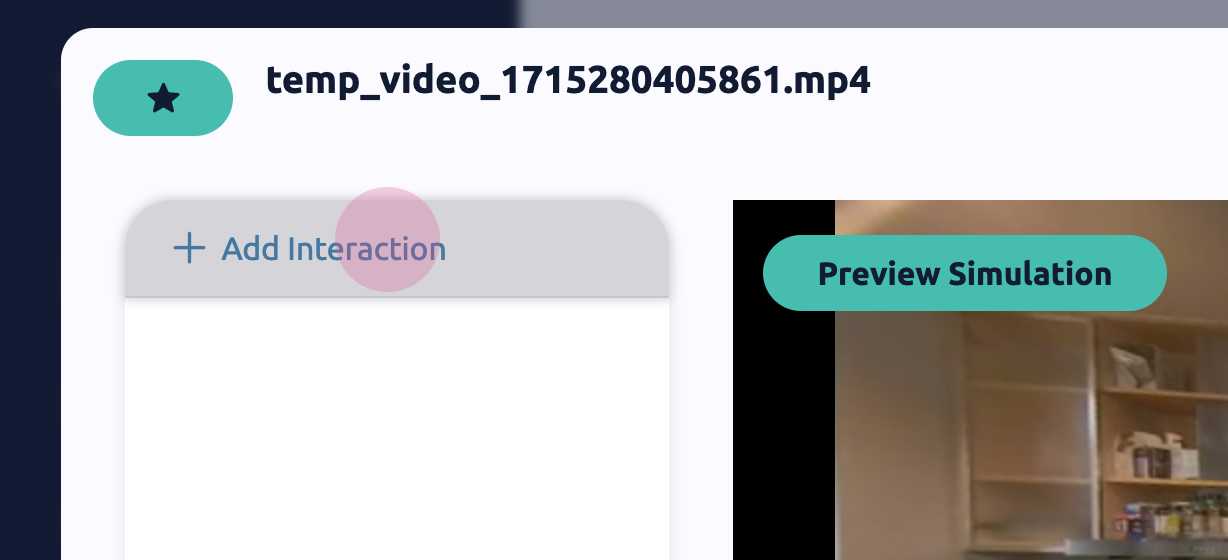
On the left you will see a list of the interactions in the video, to add your first Interaction click Add Interaction.
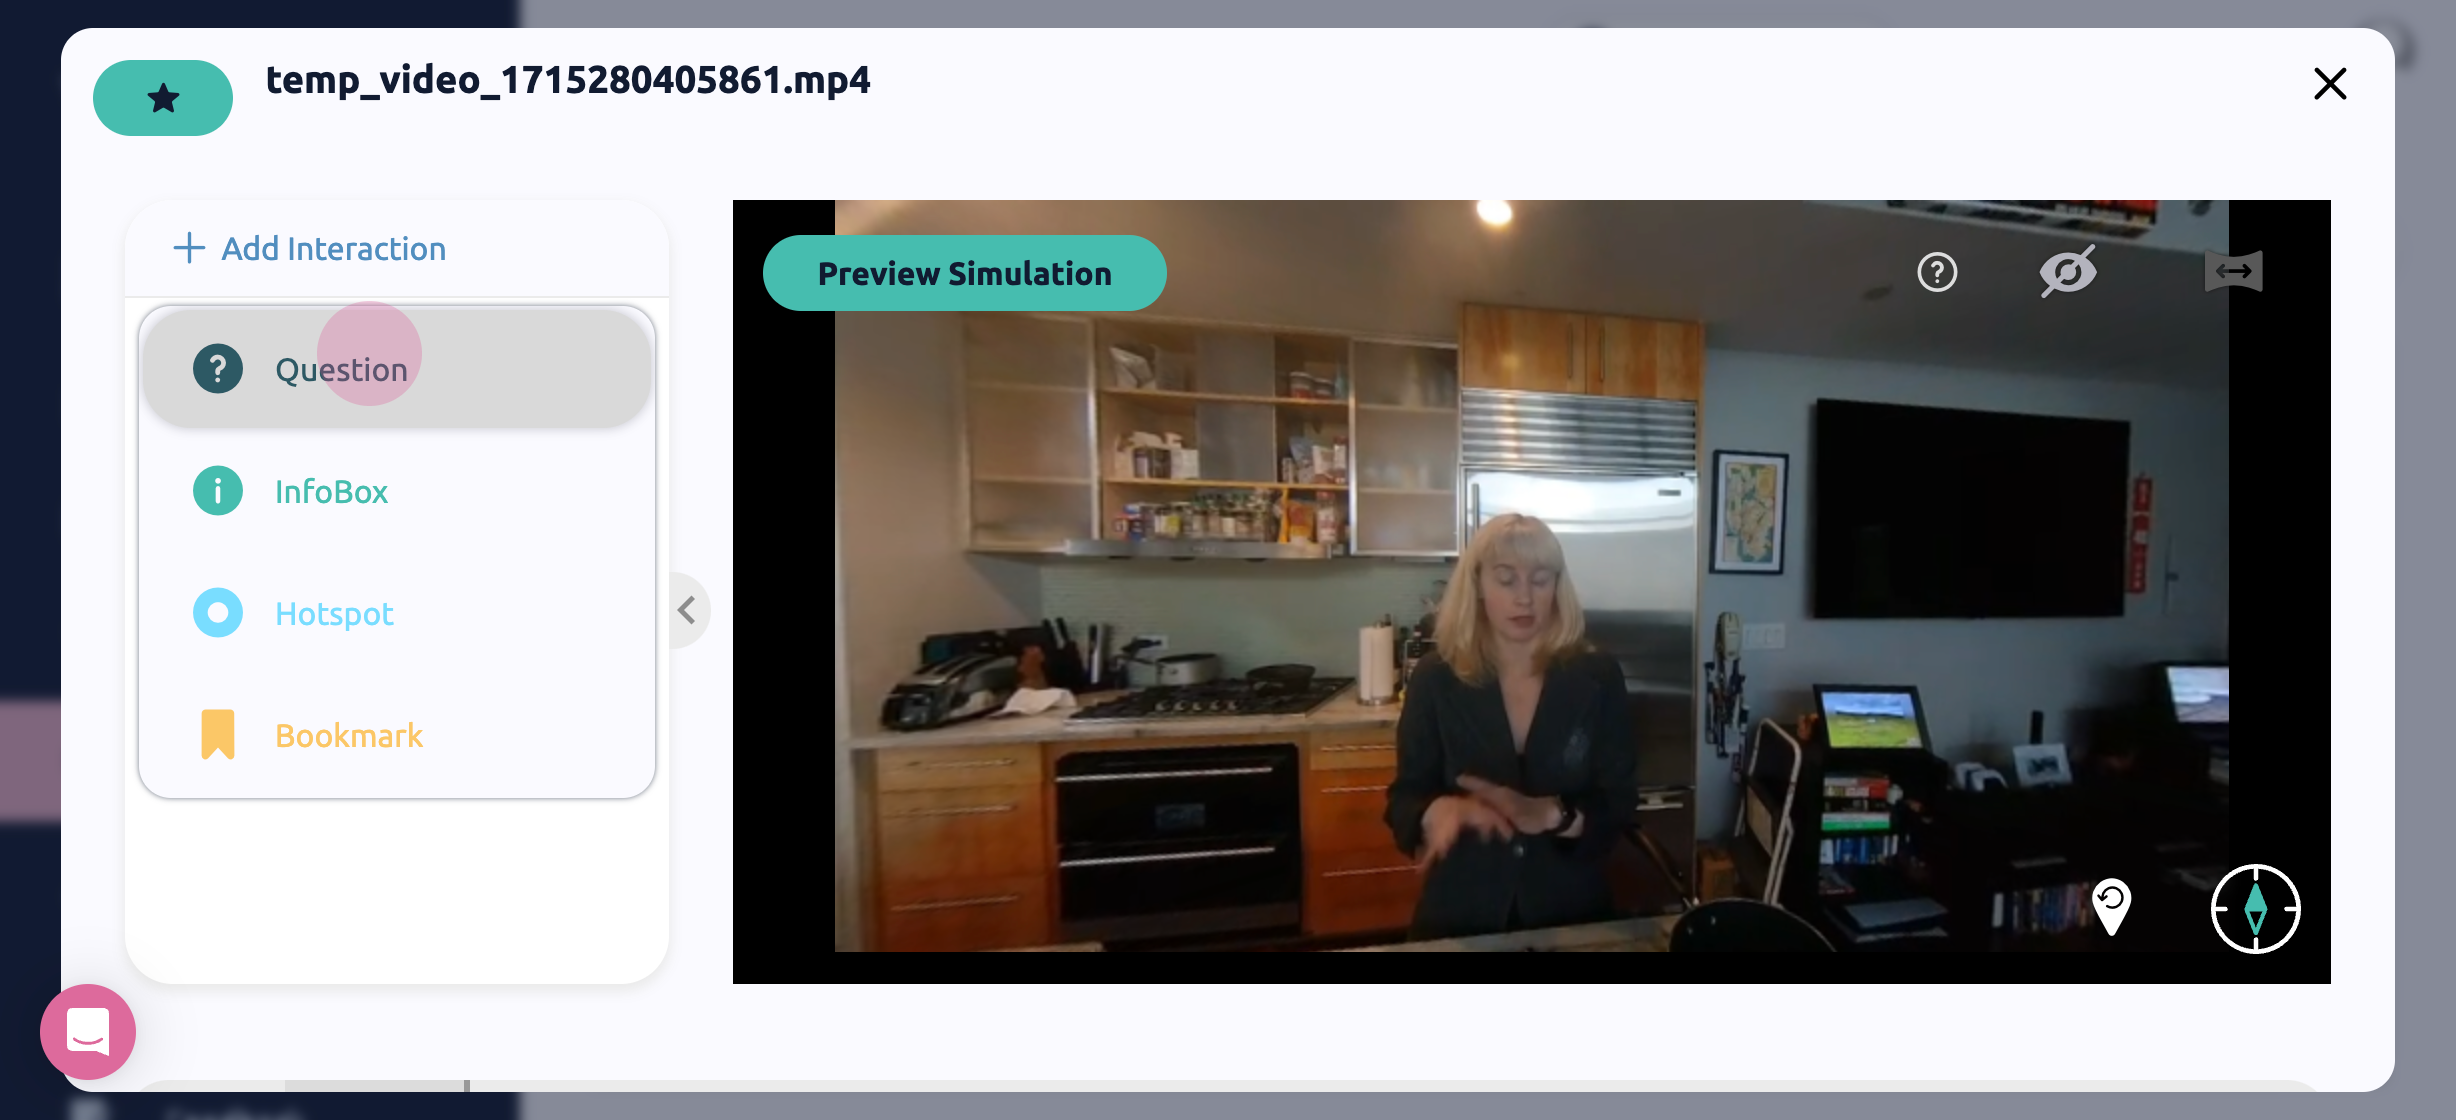
There are 4 types of interactions you can add:
Questions - Questions can be used for quizzes and knowledge checks, or for decision points that control what direction the user takes in the simulation.
InfoBoxes - Infoboxes can display text or images, and automatically appear to learners to provide information.
Hotspots - Hotspots can display text, images, audio, or video and can be placed around the simulation, and are triggered by the learner clicking on them.
Bookmarks - Bookmarks are used in branching scenarios so that learners can jump to specific points in your videos, such as if you wanted to loop a learner back to the beginning after answering a question incorrectly.
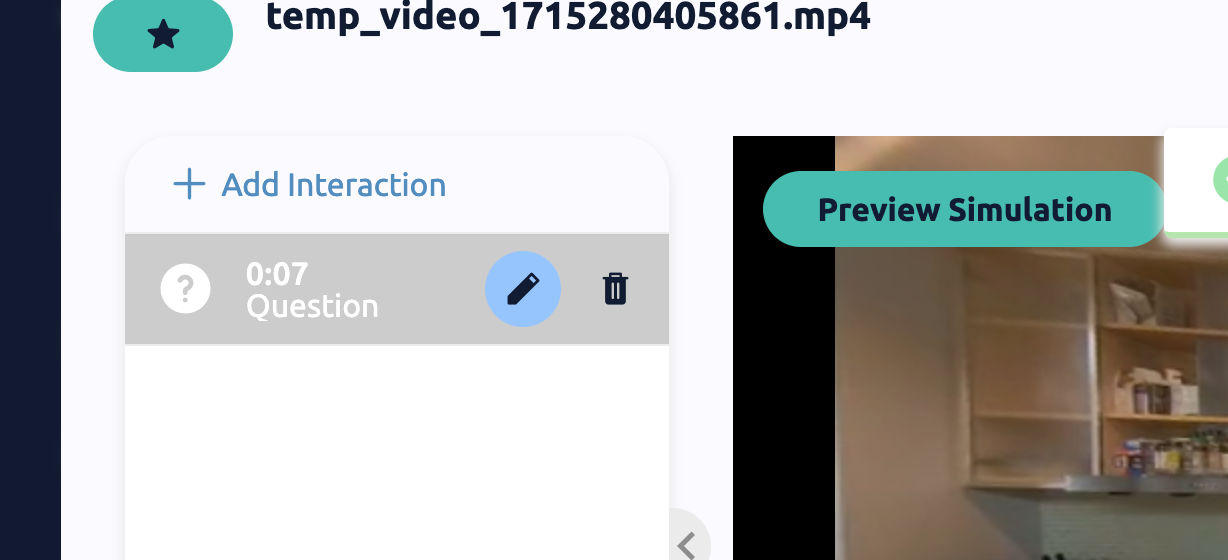
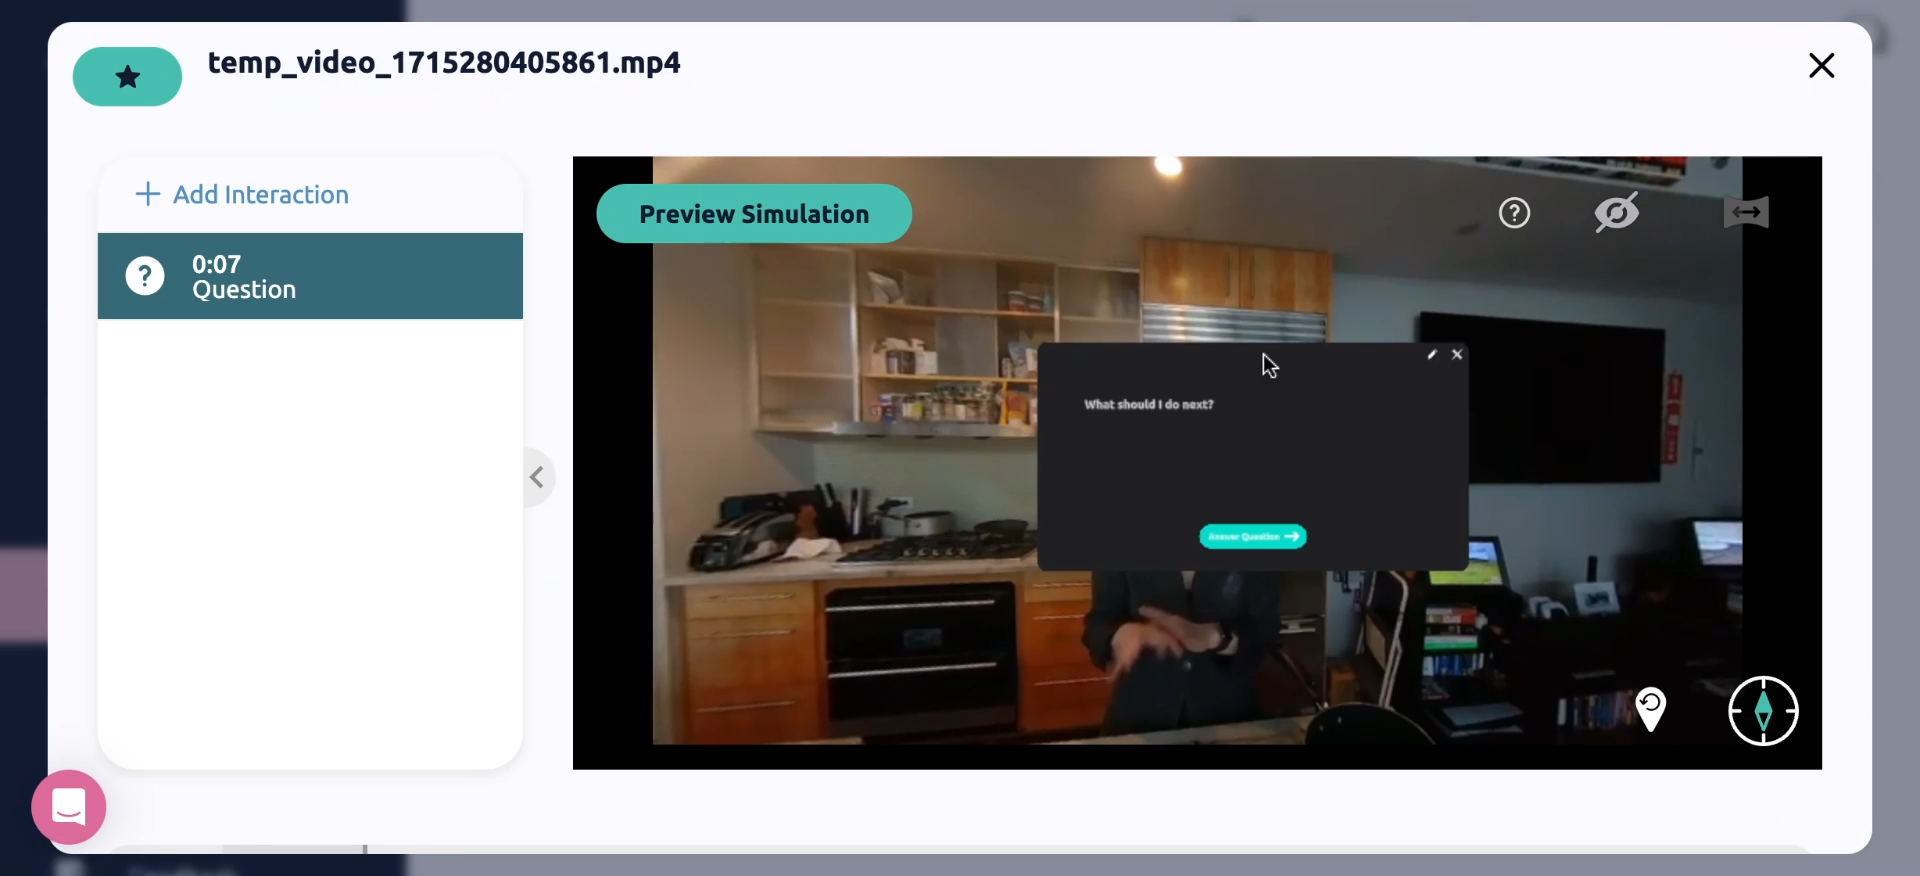
Let's start by adding a question, and then clicking the Pencil icon to edit the question.
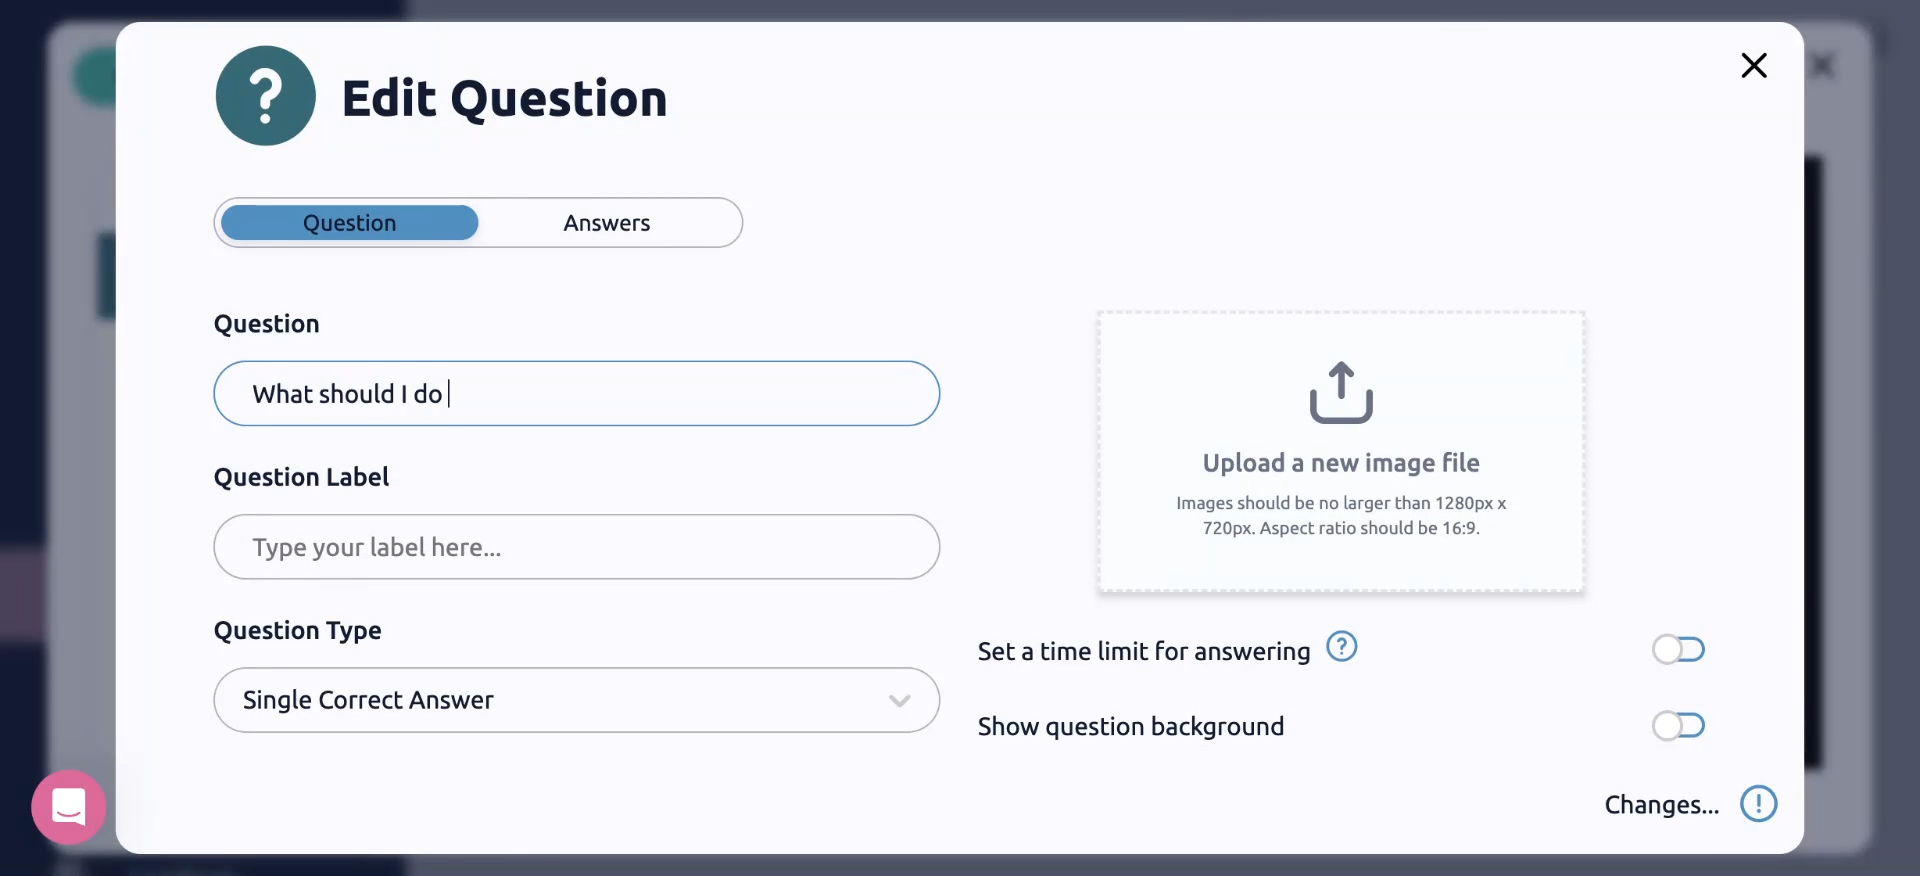
Edit your question in the editor using the text fields and the settings.
Question - Enter in the question you want to ask e.g. "What do you want to do next?"
Question Label - Here you can give the question a label, which will appear as the interaction's title in the list, so you can better organize your questions.
Question Type - There are 3 question types
Single Correct Answer - There is only 1 correct answer to your question.
Multiple Correct Answers - There are multiple correct answers to your question and a user must select more than one to get it right. E.g. "Select all that apply"
No Scoring - There is no correct answer, and no points will be awarded. No scoring questions could be used if you do not want to assess learners, or if you are asking them to make a decision in a branching storyline, where there is no correct answer.
Set a time limit - Decide whether or not you want the user to have a time limit for answering the question
Show question background - If this is toggled on, the question will have a darkened background and you will not be able to see the video behind the question.
Show answers in order - If toggled on, the question will always appear with the answers written in the order you selected. If toggled off, the order will be randomized.
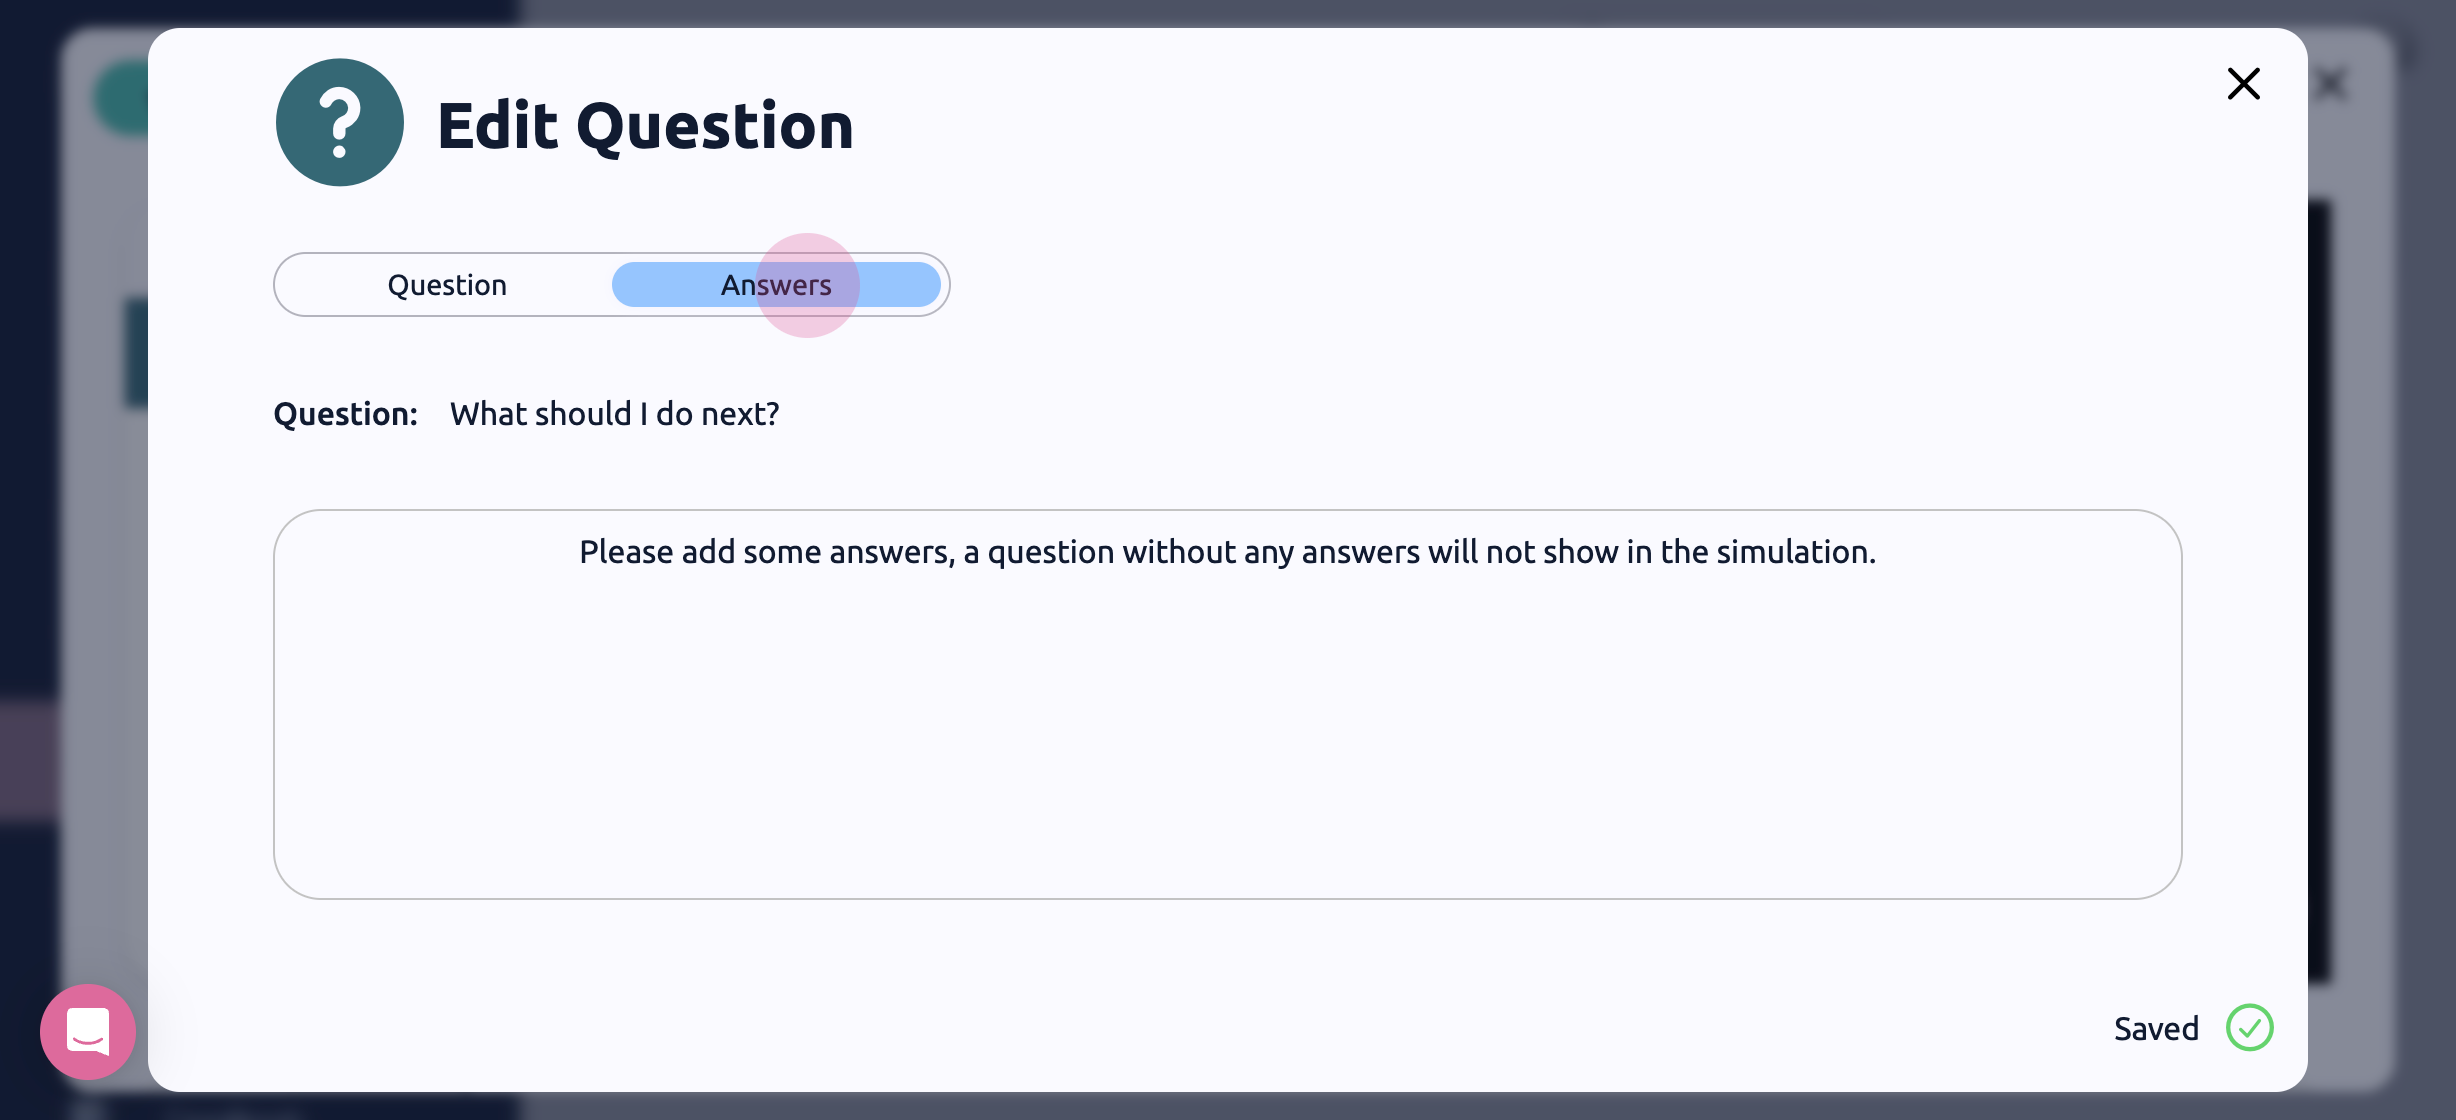
Click on Answers, to fill out the possible answers to your question.
Click Add Answer to add a possible answer, and fill out the details.
Answer - This will be the answer displayed to the user
Feedback - This text will be displayed to the user after they select the answer
Correct - This marks the answer as the correct answer.
Points - You can add a custom amount of points to your answers to weight certain questions.
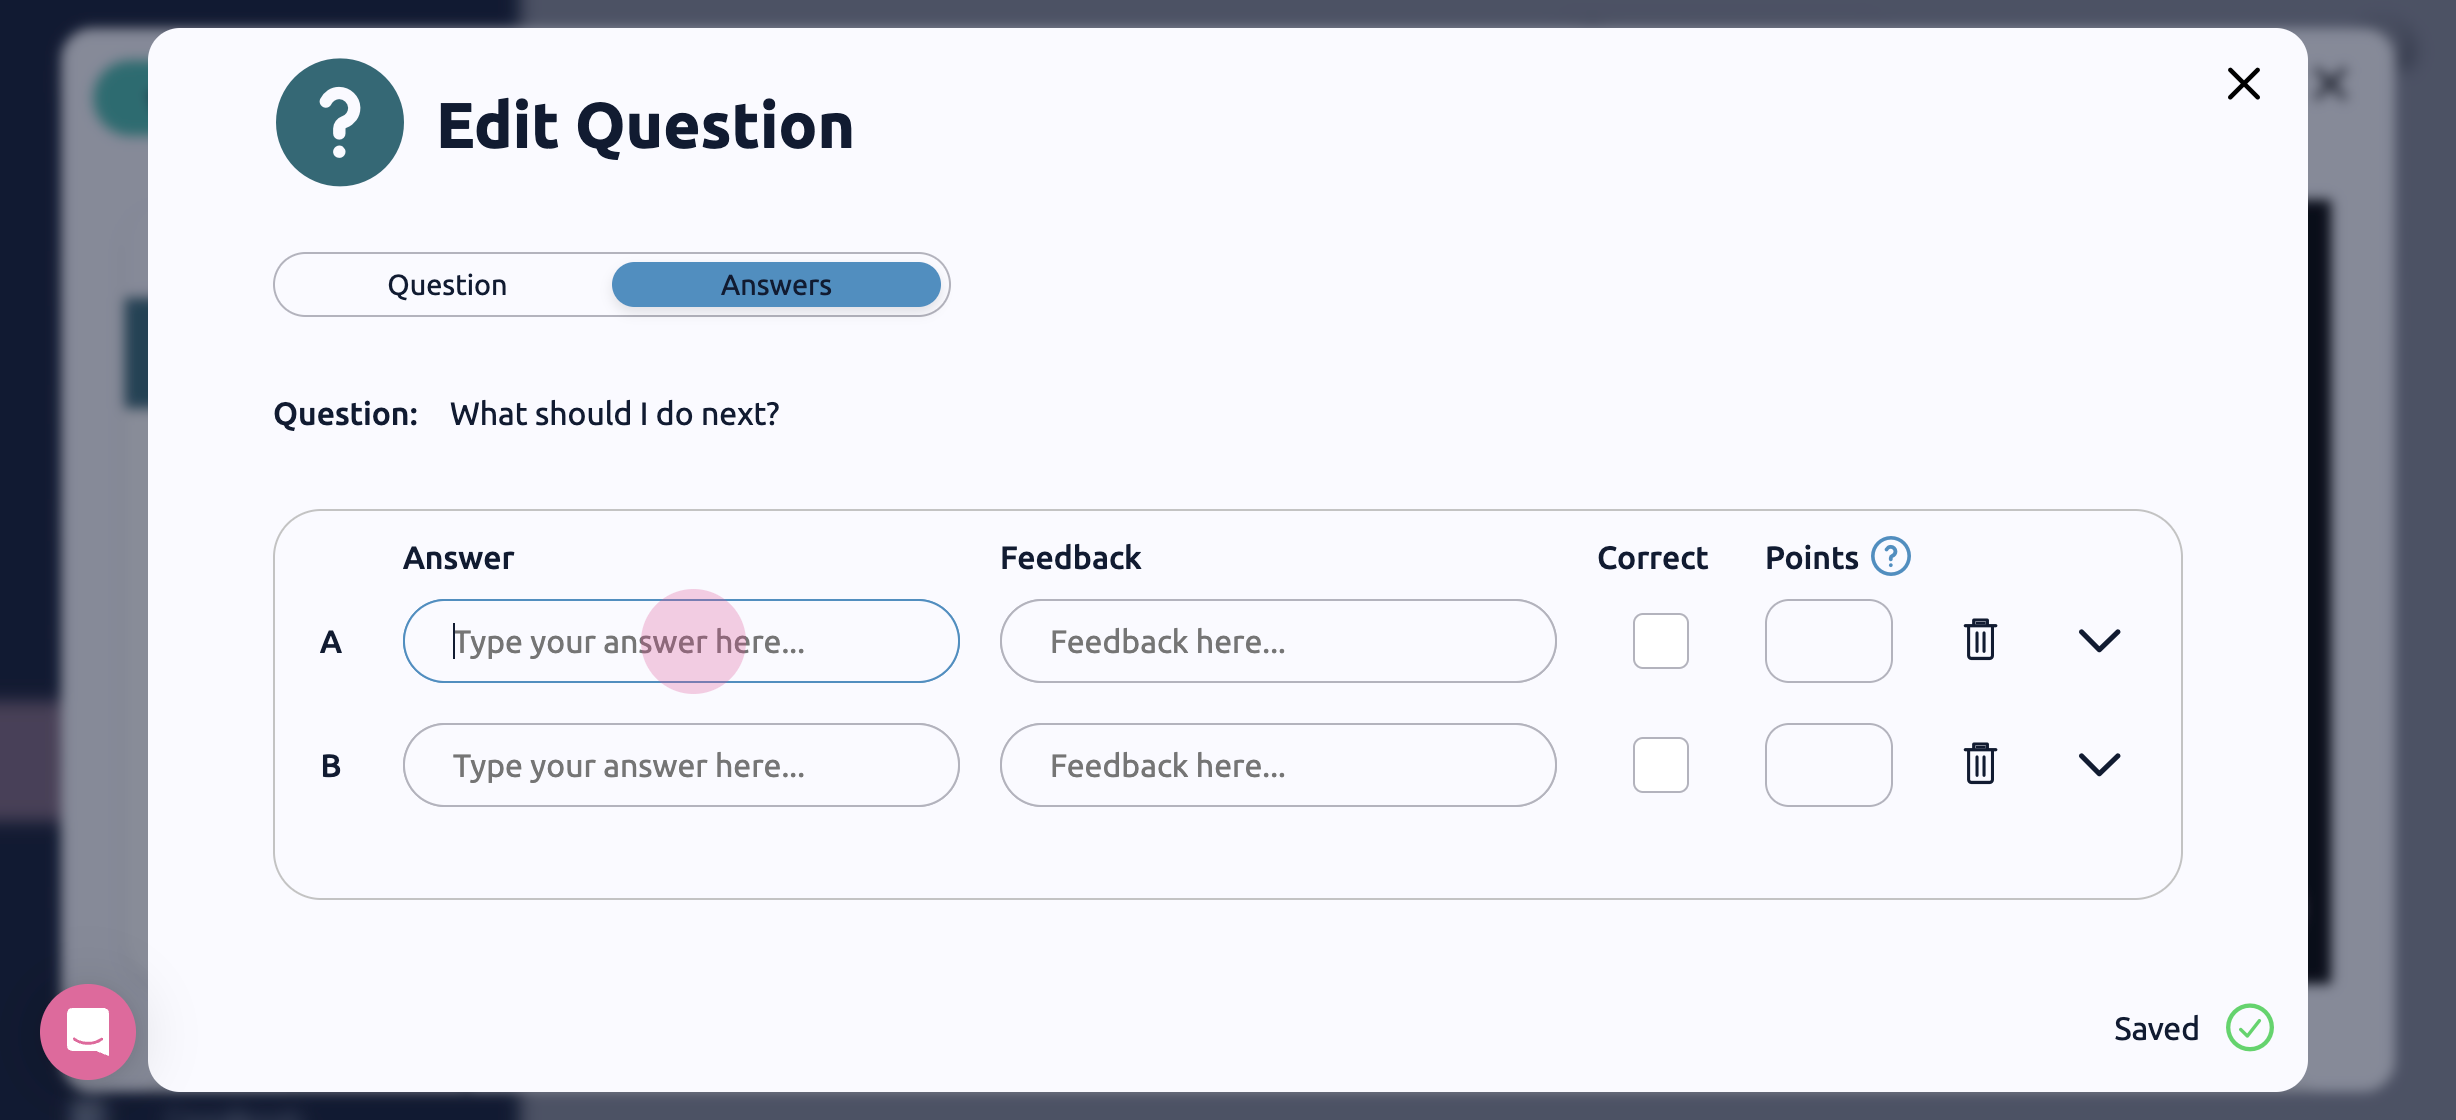
Delete Answer - Hit the trash can to delete an answer
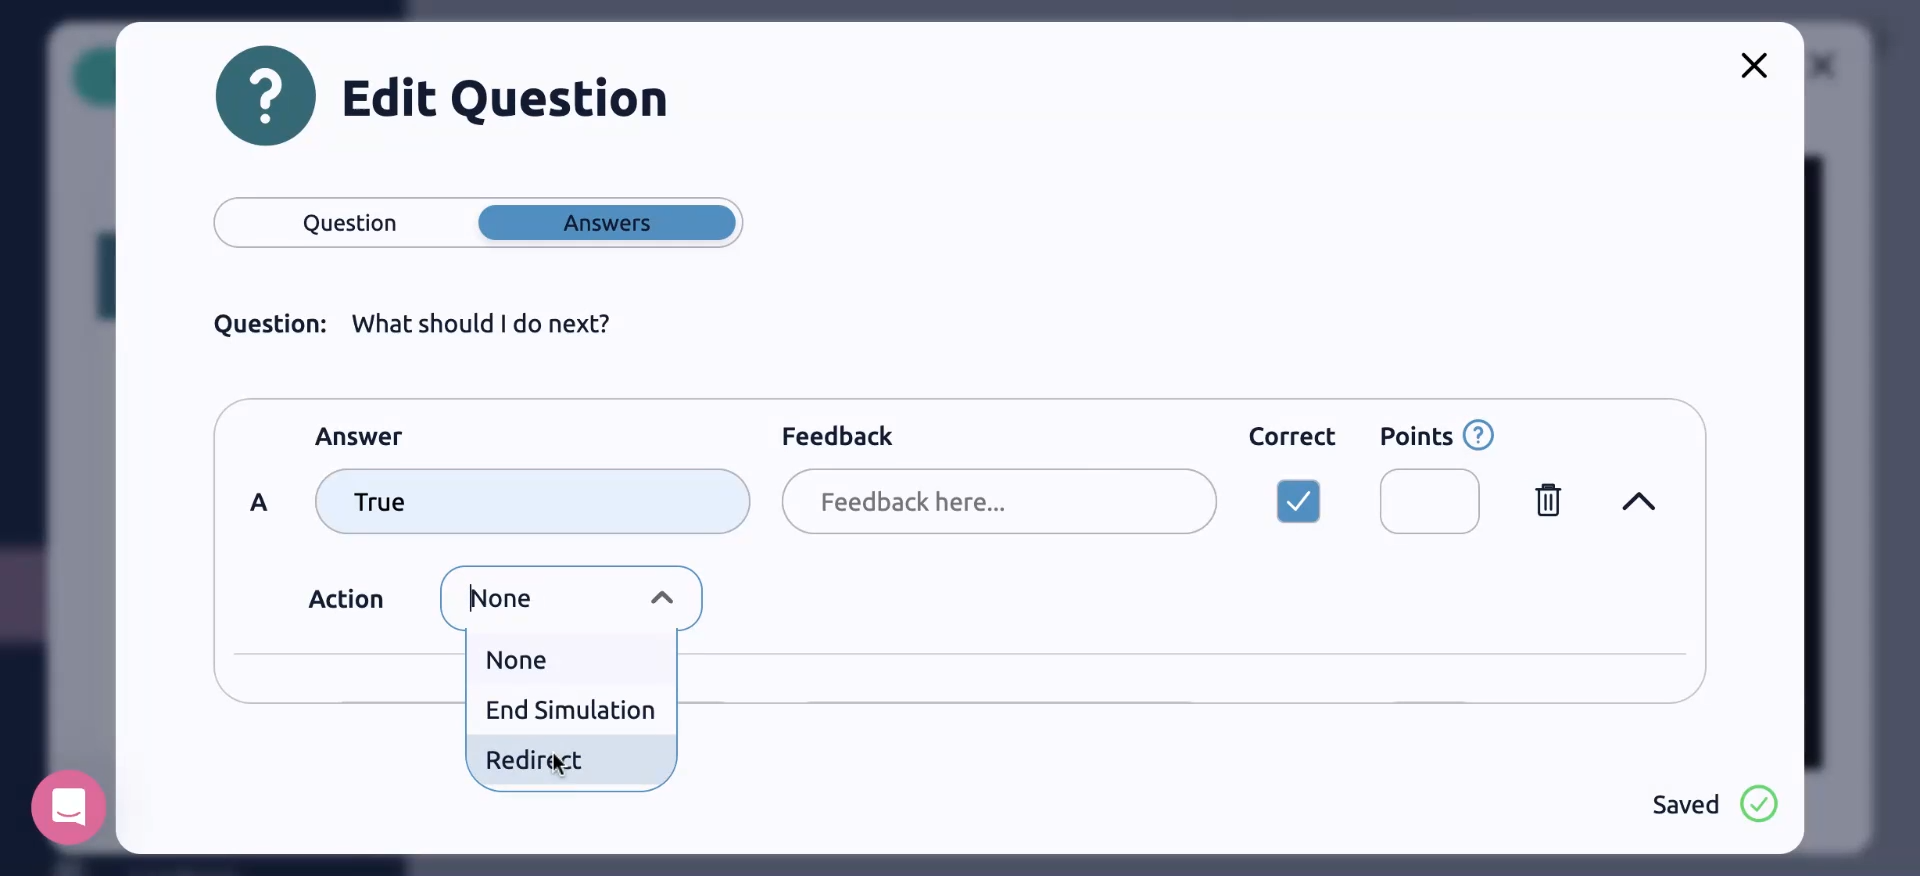
Redirects - If you are building a branching scenario, and want the answer to jump to another point in the video or a different video hit the down arrow to display the redirect menu. Select from the action dropdown menu what should happen when the user selects this answer.
End Simulation - The simulation will end
Redirect - The user will go to a new video. Select which video and the timestamp where the user should enter the video.
Once you're done editing the question you can hit the X in the top right of the screen. Click on your question in the Interaction list, and you will see a preview of the question so you can see how it will look to learners.
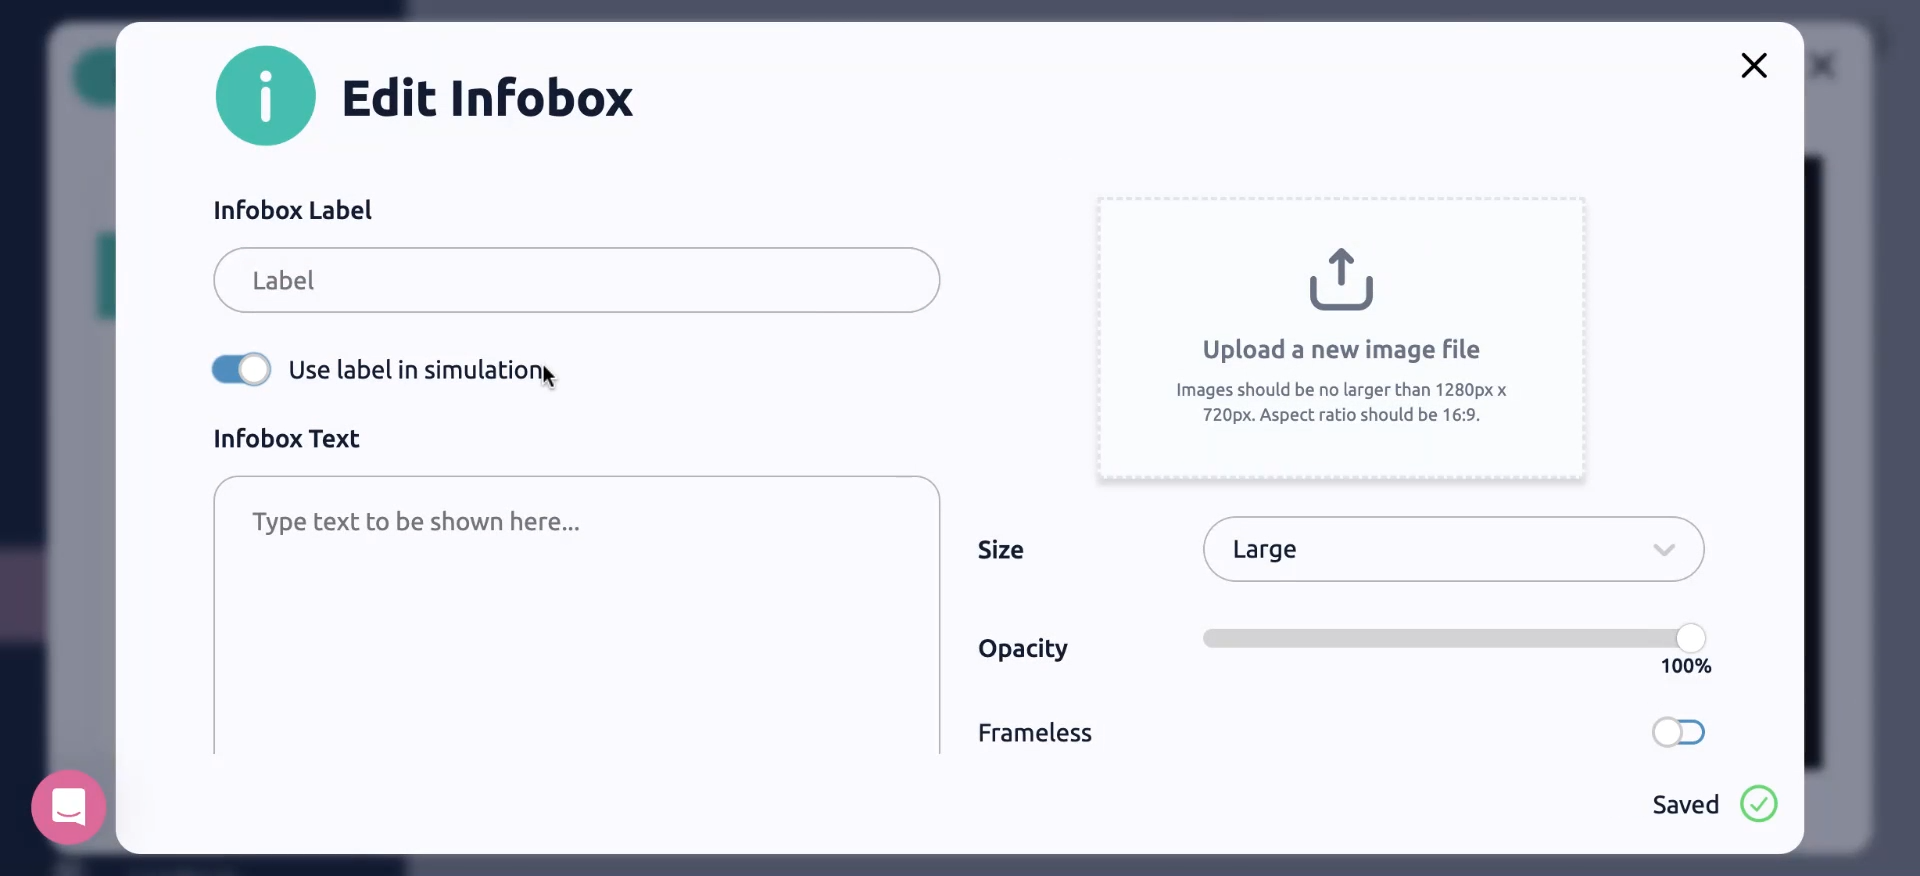
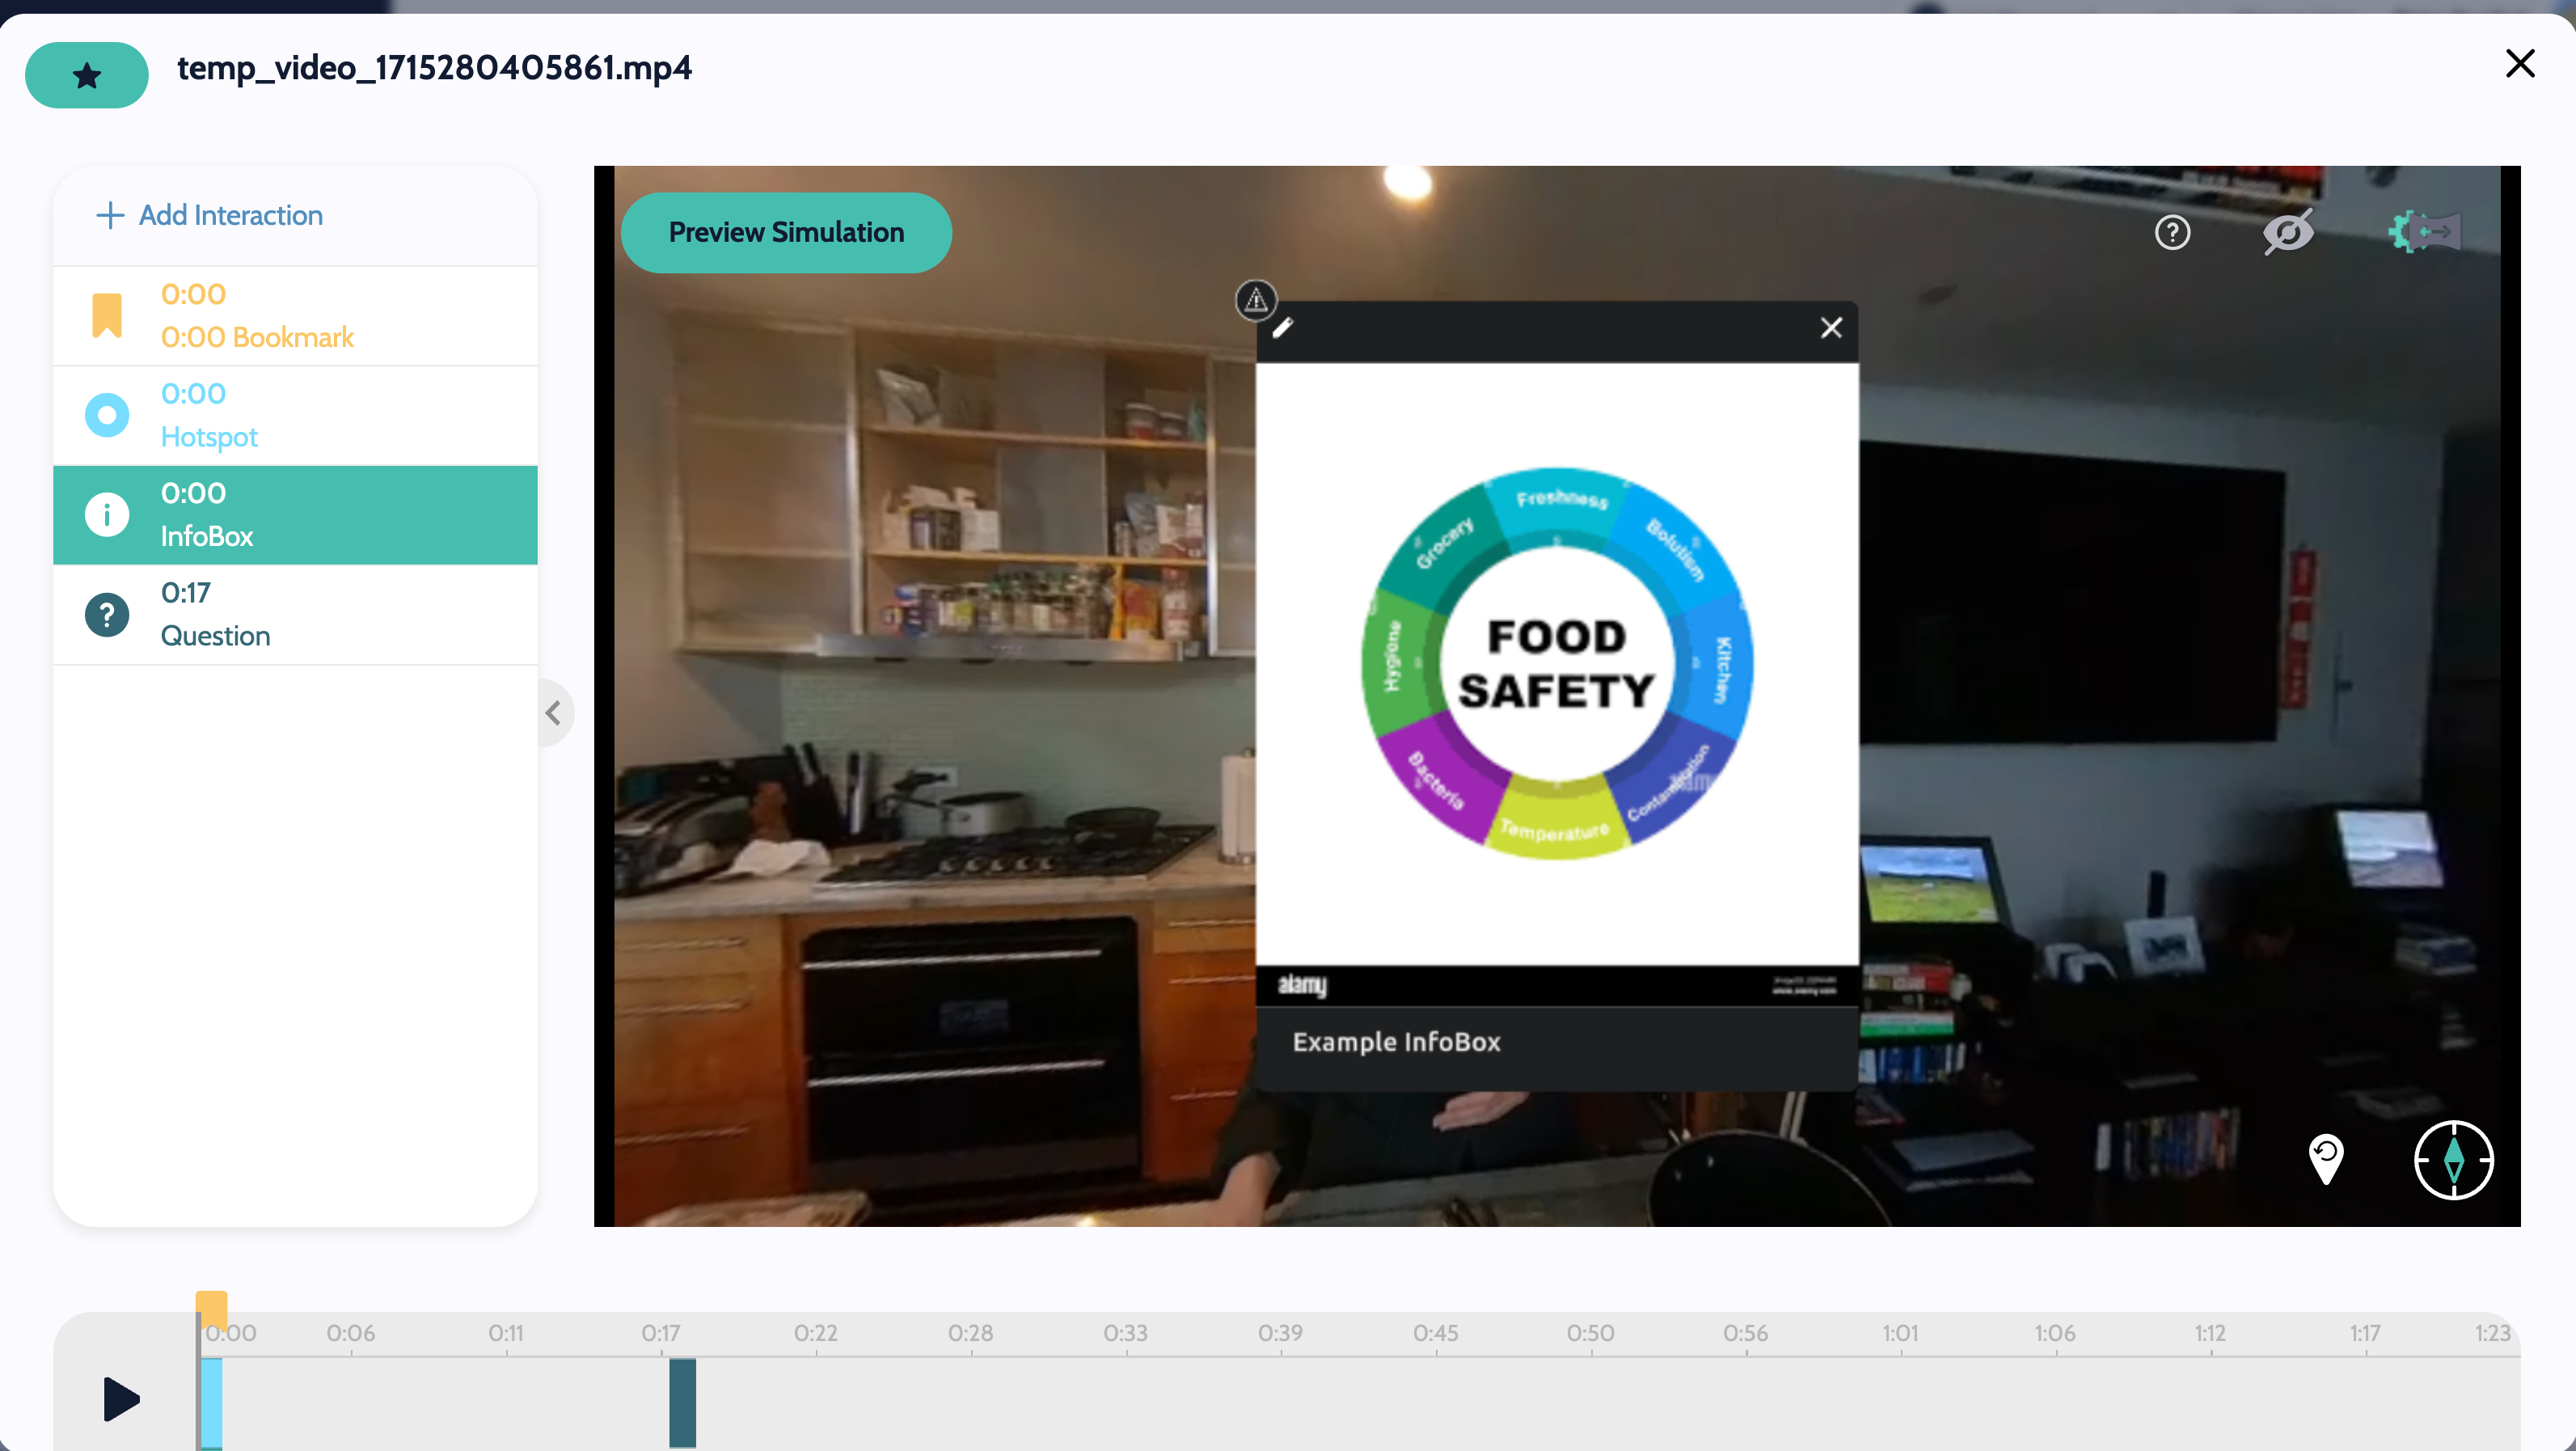
Now let's select InfoBox from the Add Interaction menu, and hit the Pencil icon to edit.
Next, edit your InfoBox in the editor using the text fields and the settings.
InfoBox Label - This is the name of the InfoBox that will appear in your interactions list.
Use label in simulation - If this is toggled on, when the user hovers over the hotspot, the label will be displayed.
Infobox Text - This is the text that will be displayed to the user inside the infobox.
Upload an Image - You can add an image to the infobox, like an info-sheet or a diagram.
Size - Adjust the size of the InfoBox that appears
Opacity - This controls the opacity of the hotspot icon
Frameless - Toggle this on to remove the black frame around the InfoBox
Make Sticky - If this is toggled on, when the user dismisses the InfoBox, they will be able to re-open it with a hotspot icon.
X & Y - These are the coordinates for where the InfoBox appear. You can also change the position by dragging the hotspot in the editor.
Timestamp - This is the time that the InfoBox will appear.
Once you're done editing the question you can hit the X in the top right of the screen. Click on your Infobox in the Interaction list, and you will see a preview of the InfoBox. If you want to reposition it, simply, drag it and drop it to a new position. If you want to change the time it appears, drag and drop the highlighted block on the timeline below.
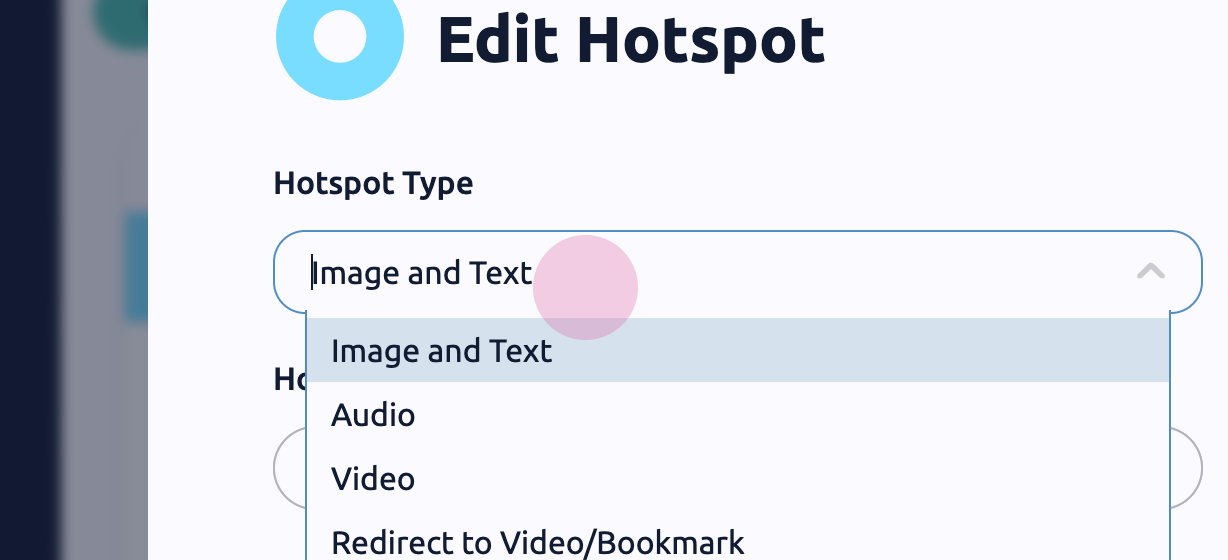
Hotspots are useful for redirecting attention. Now let's select InfoBox from the Add Interaction menu and hit the Pencil Icon to edit.
Next, edit your InfoBox in the editor using the text fields and the settings.
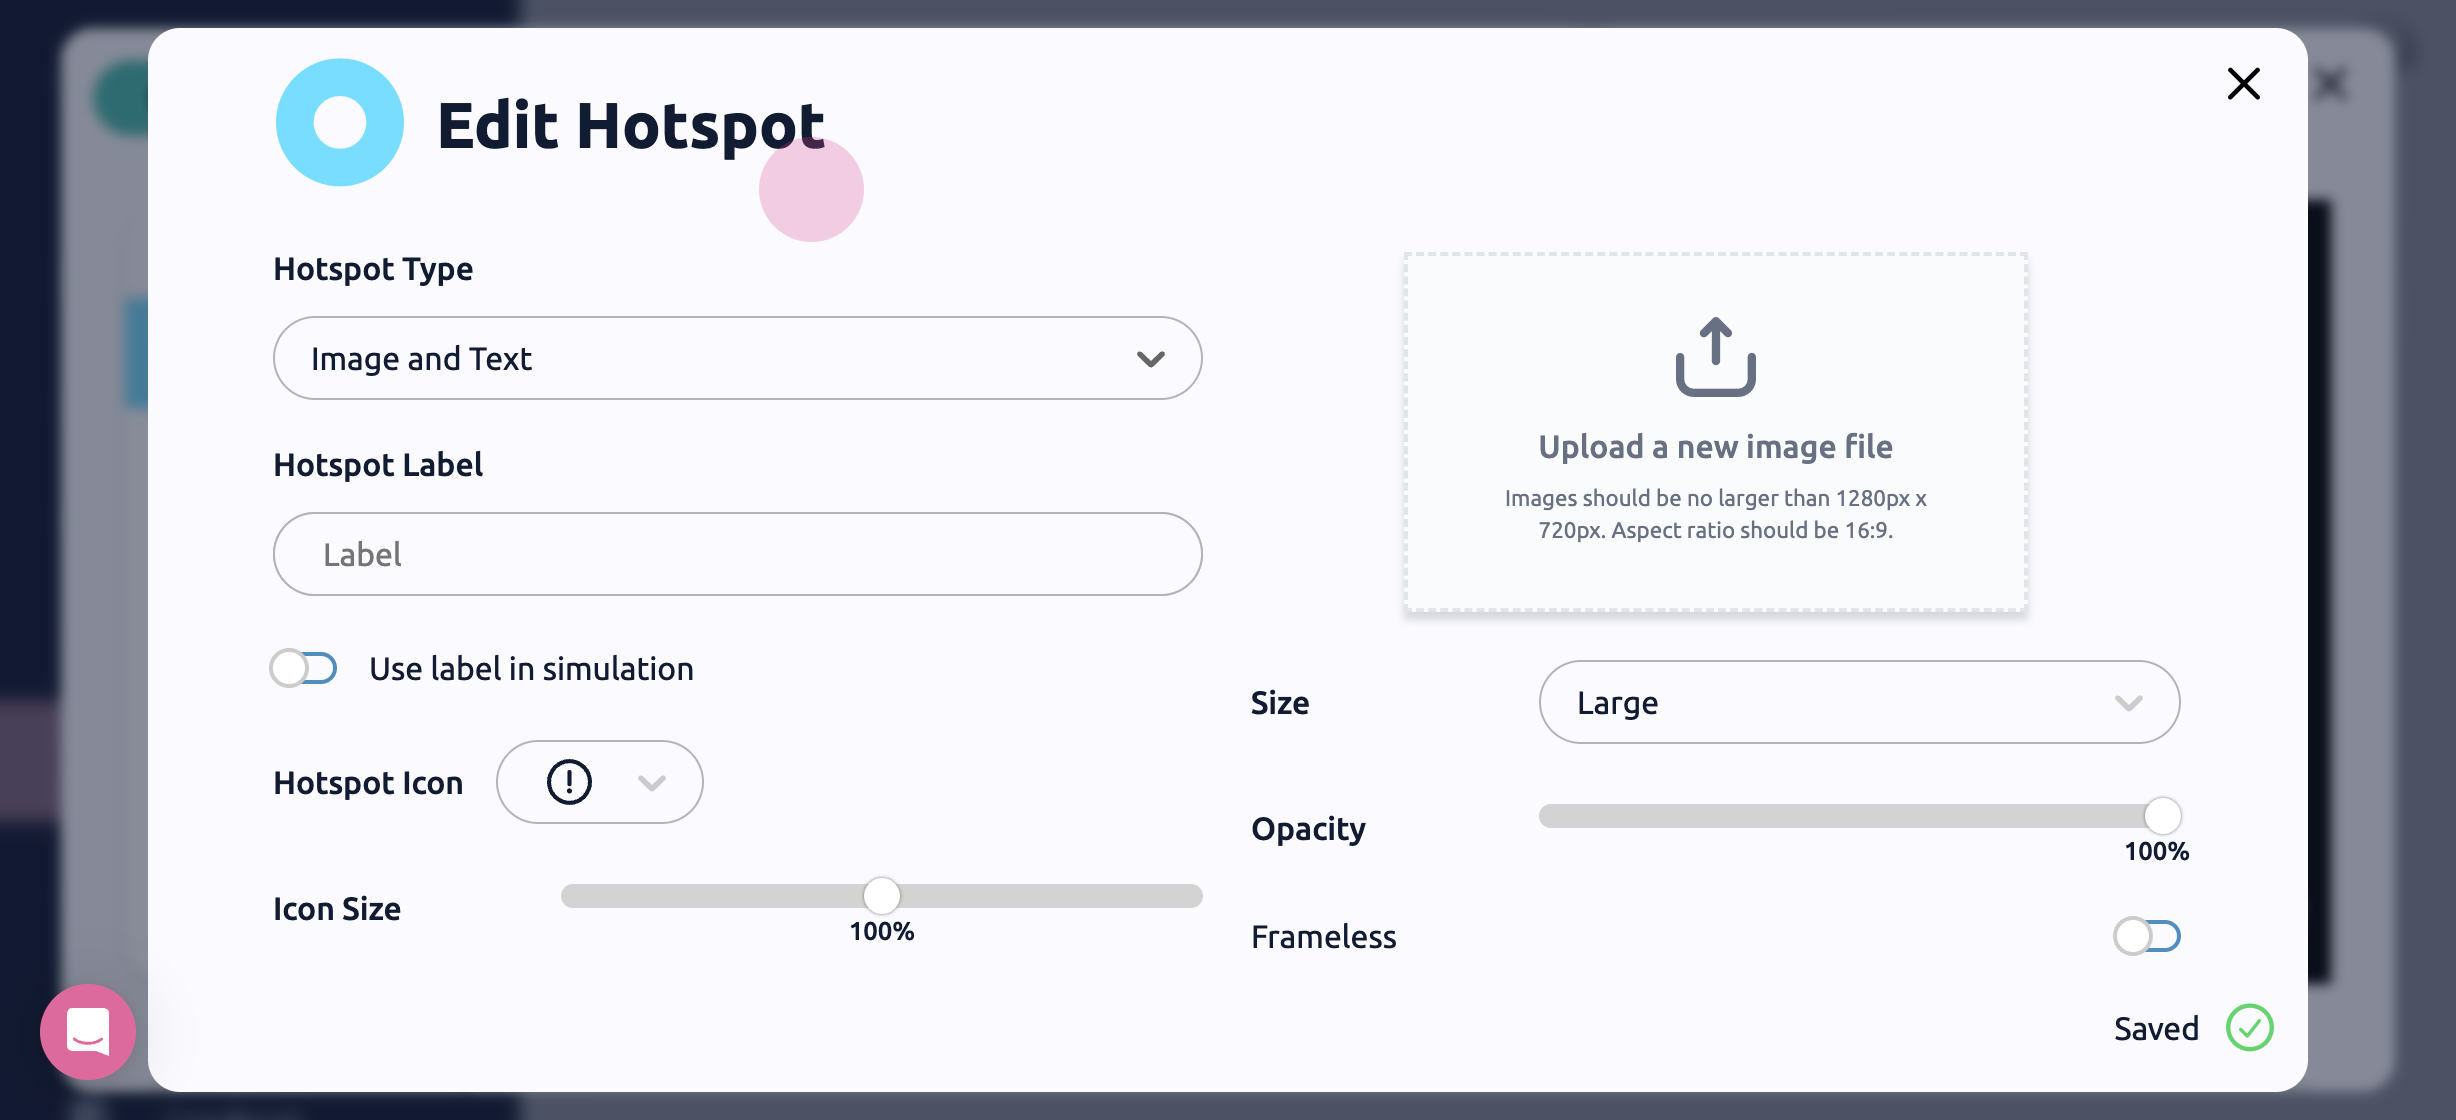
Hotspot Type - There are 4 types of hotspots
Image & Text - This hotspot is similar to an InfoBox and displays an image and/or text
Audio - Add an audio clip that plays when the user selects the hotspot. For example in a medical scenario you could add a chest sound to a hotspot on the patient's chest.
Video - Add a video clip that plays when the user selects the hotspot. For example you could add a close-up video of how to operate one of the tools in your scenario.
Redirect - Add a way for the user to jump to a new video or bookmark when they select the hotspot. For example if you want the user to be able to jump to a new room.
Hotspot Label - This is the name of the InfoBox that will appear in your interactions list.
Use label in simulation - If this is toggled on, when the user hovers over the hotspot, the label will be displayed.
Hotspot Text - This is the text that will be displayed to the user inside the infobox.
Hotspot Icon - Select the icon you want displayed in the hotspot.
Icon Size - Adjust the size of the icon that appears on screen.
Upload an Image - You can add an image to the infobox, like an info-sheet or a diagram.
Size - Adjust the size of the hotspot image that appears
Opacity - This controls the opacity of the hotspot icon
Frameless - Toggle this on to remove the black frame around the Hotspot
Make Sticky - If this is toggled on, when the user dismisses the Hotspot, they will be able to re-open it with a Hotspot icon.
X & Y - These are the coordinates for where the Hotspot appear. You can also change the position by dragging the hotspot in the editor.
Timestamp - This is the time that the Hotspot will appear.
Once you're done editing the question you can hit the X in the top right of the screen. Click on your Hotspot in the Interaction list, and you will see a preview of the Hotspot. If you want to reposition it, simply, drag it and drop it to a new position. If you want to change the time it appears, drag and drop the highlighted block on the timeline below
Bookmarks are key for creating branching storylines. They act as placeholders within your videos, so you can set questions or redirect hotspots to go to a specific time in the video. Now let's select Bookmarks from the Add Interaction menu, and hit the Pencil icon to edit.
Next, edit your Bookmark in the editor using the text fields and the settings.
This is the name of the Bookmark that will appear in your interactions list. Give your bookmark a specific name so you can easily find it later.
Timestamp - This is the time where the bookmark will be set in the video. This is important as it will be the time where the learner is redirected to after answering a question, or
Visible to Learner - If this is toggled on, a user will be able to jump to a bookmark using the timeline.

Now you're all set, you know how to add a video, create a simulation, and add interactivity.
Need more help? Contact us at [email protected]